
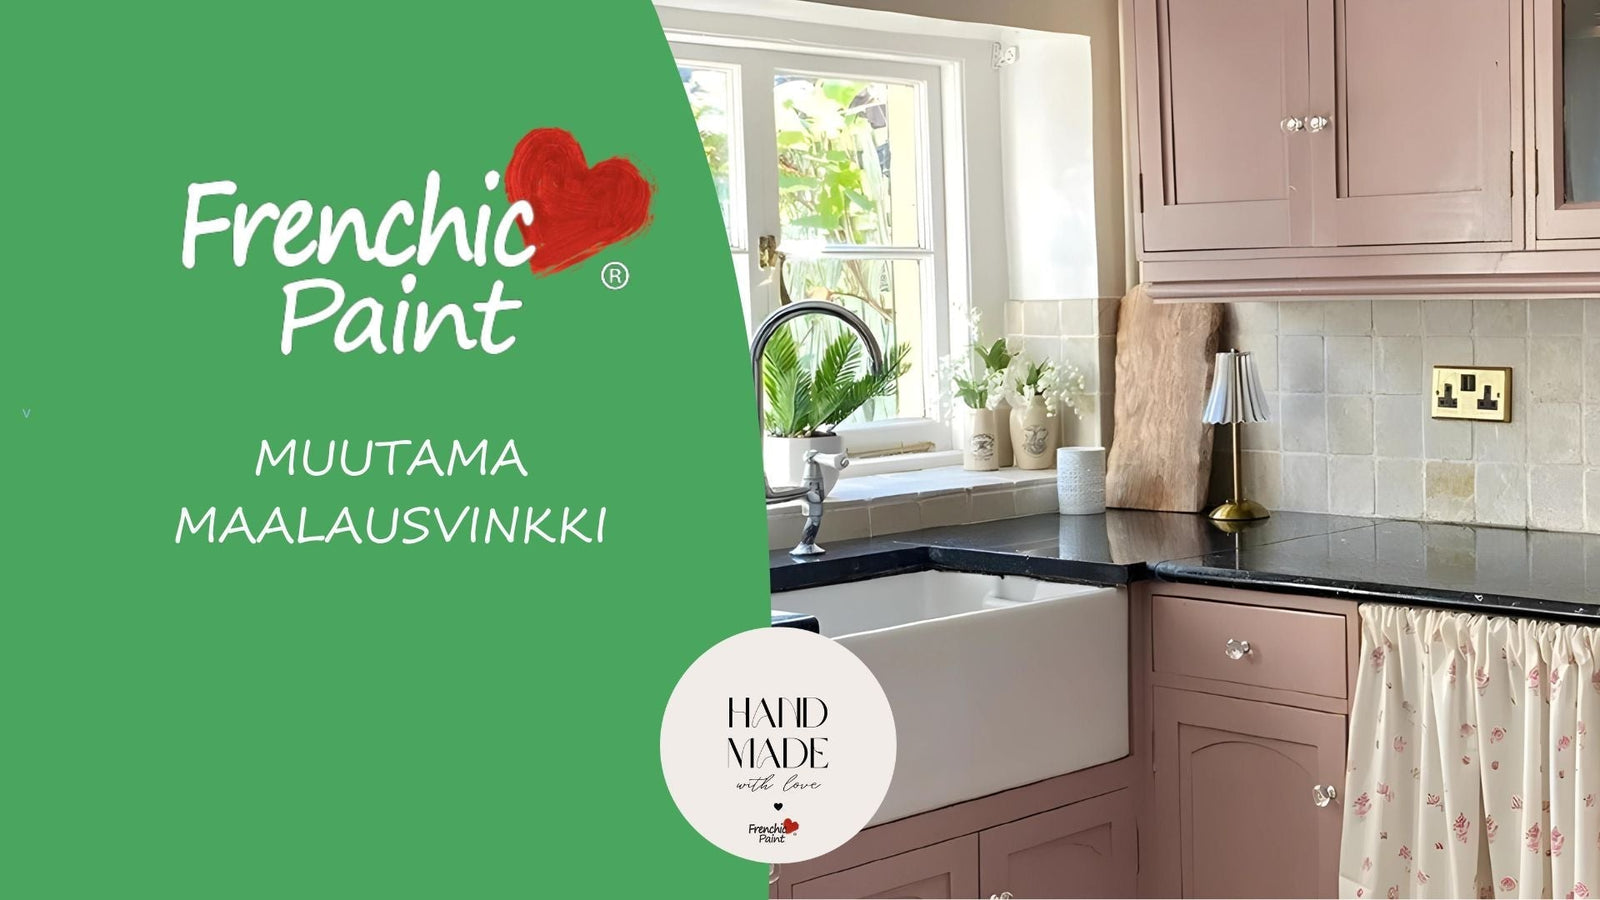

A few tips & Painting instructions
We want you to succeed - try and have fun with the Frenchic series!
Make your home boldly your own, use the shades you like yourself.
Recycled interior design, painting and restoring old furniture is a small eco-act – the choice of an environmentally conscious decorator.
Remember that every painting project is unique and everyone has their own usage habits. Remember that you can always repaint if the marks of life show on the painted surface or you can enjoy a beautifully worn surface.
By painting, restoring, or waxing, even old furniture, doors, moldings, and wall surfaces can be made beautiful again and suitable for your home affordably. You don't always have to buy new.
Painting is fun and sometimes even therapeutically calming – explore the Frenchic range and enjoy the colors!
The painting instructions for a successful result are ultimately very simple with Frenchic paints:
- Wash and clean the surface to be painted carefully and let the surface dry.
- Sand thoroughly and wipe off the sanding dust.
- Paint at least twice, on a dry and clean surface, with carefully mixed paint.
- Let dry according to the instructions.

What painting tools do I need?
Get the tools and paints well in advance before the start of the project.
In addition to paint and brush, you may need a long-handled and handy roller frame, perhaps a new roller cover, a paint tray, and a paint mixing tool.
Also remember safe ladders, protective equipment, and masking tapes. Move and protect other furniture in advance.
Choose the shade and do a test painting
Choose the color if possible always in the environment and conditions for which the color is selected – in your own light and shadows you can best examine the vibrancy of the color. You can order Peel & Stick color samples to your home.
For test painting, the Frenchic range offers a 250ml jar size, with which you can easily confirm the shade and coverage.
If you are unsure about the suitability of the paint for your project, first try it on an inconspicuous spot. At the same time, you will get an idea of the coverage and paint consumption for your project and ensure the accuracy of the shade.
Mixing the paint is the most important step before you try the paint.
Unevenness in the color shade can be corrected by adding a new layer of paint. If the color difference between the surface to be painted and the chosen shade is large, more paint layers than usual may be needed.
Remember that the colors displayed on your screen are produced electronically and each screen reproduces shades in its own way.
The perception of color is also affected by the material's surface, its gloss, lighting, and other adjacent shades. Colors should be examined on both horizontal and vertical surfaces.
Evaluate the shade only when dry, after two coats – with well-mixed paint.
Get inspired by others' projects and grab the best ideas
Get inspired by our customers' idea photos in our FB group and see how your chosen shade looks in different lighting and on different surfaces. Search the group by the shade name to get results of furniture painted with that shade. Try search terms like: KITCHEN or TILE in the group.
Don't skimp on the amount of paint
One coat or thinned paint can negatively affect durability. Porous and uneven surfaces, such as fiberglass wallpaper or raw wood, usually require a bit more paint than the instructions.
Make sure you reserve enough paint to complete the project.
The industry standard advice is that if you need more than one can of paint, make sure they are from the same batch number or if that is not possible, mix the paint batches before painting to ensure a uniform result.
All Frenchic paints are paintable at least twice.
Choose brushes and other tools
Please don't skimp on brush selection. Painting with a neat, clean, and intact brush or roller is pleasant and the result is top quality.
Choosing an old and dirty tool can cause a messy paint finish and too thick paint layers.
Thick layers of paint or wax do not dry within the manufacturer's intended time and they reduce the surface's wear resistance.
Read more about brush selection in the Blogs.
The painting project goes smoothly when the tools are in good condition.
Reserve both a wide and a narrow brush for the project and quality tape for masking - with cheap tape you can attach protective plastic sheets.
You may also need a tape measure, pencil, furniture cleaner, and a sanding sponge.
Follow the instructions and drying times
Painting is quick and enjoyable work – but also remember to give the process time – especially for the layers to dry.
- If the instructions say: apply two coats of paint, apply two coats.
- If the instructions say: sand or roughen and wash the surface clean before painting, follow the instructions.
- If you forget the work instructions, they can be found on the side of every paint can and on our website; read the instructions before you start.
Do not overwork paint layers that are drying with unnecessary mechanical stress, such as small touch-ups – this can ruin both the top and lower layers simultaneously and the surfaces will need to be sanded smooth before repainting.
The drying interval between coats for Al Fresco series paints is at least 2 hours and for Lazy Range series at least one hour under normal conditions.
Read the instructions on the paint can before starting and FAQ - frequently asked questions.
How do I prepare furniture for painting?
When starting a project, prepare the furniture for painting. Gather the supplies and protect the area around the furniture.
Start with cleaning. High-pressure washing is not good for furniture, especially old wooden furniture. Water from a pressure washer can penetrate deep into the surface and drying takes a long time.
Wash the surface to be painted before sanding.
Wash the surface clean of grease, dirt, and fingerprints. Surfaces that are touched frequently must be washed thoroughly before painting. Finally, rinse off the detergent with clean water.
Always paint only clean surfaces.
After cleaning, sand or lightly roughen the surface.
Glossy and slippery surfaces as well as surfaces with heavy wear should be roughened or sanded carefully before painting to ensure good paint adhesion.
Usually hand sanding is sufficient, for example with sandpaper or a reusable and washable sanding sponge. You can also use the sanding sponge wet, making sanding comfortable even indoors.
Frenchic Paint series paints are water-based and repel dirt, oil, and grease. You can find more tips on preparation and using different painting techniques in the Frenchic blogs.
If you decide to sand surfaces down to bare wood before painting, be prepared for increased paint consumption, as bare wood can absorb paint into the wood grain on the first coat.
Pro Tip: you can seal porous surfaces before painting with Finishing Coat. This way you save on paint quantity and drying times. Finishing Coat dries quickly in about fifteen minutes and is easy to apply, for example with a sponge. Work instructions can be found on the product page.
The surface to be painted must be dry and clean
Clean all cleaning agents and residues of paint removers, greases, waxes, and pastes from the surface before painting. Painting on a dirty or wet surface causes the paint not to adhere to its substrate and it will start to flake and crack quickly.
All Frenchic ranges are intended to be painted with at least two layers
Prepare brushes and rollers by wetting them. Test that no water drips from the tools and start painting with a damp brush. Take a normal amount of paint on the brush – not too little, but not so much that the brush drips paint when lifted from the container. Thick (and too thin) paint layers impair durability and do not dry within the normal time.
Too thick layers take longer to dry than the instructions indicate, and a thick paint surface may crack while drying.
Mix the paint thoroughly before starting to paint
The base shade affects: When painting from dark to light (or vice versa), more paint layers may be needed than usual.
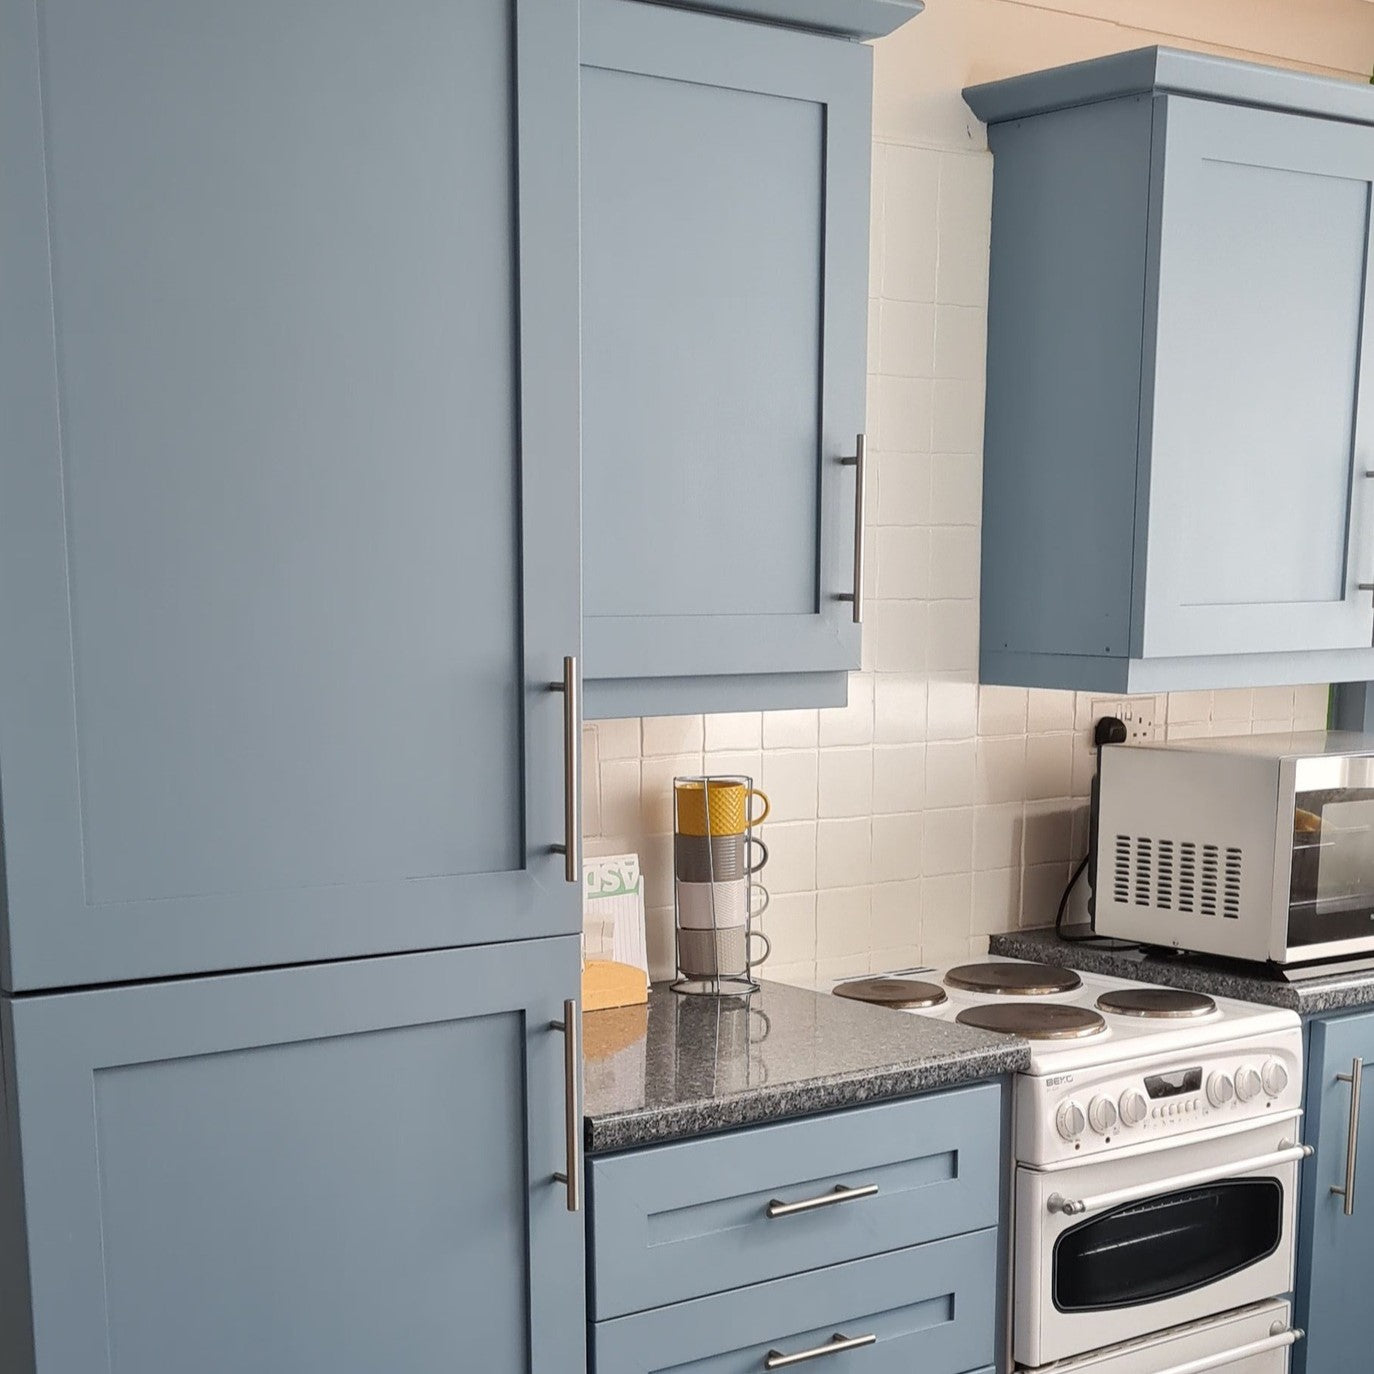
Gray is a good shade, for example, for reddish and orange, yellowed wooden surfaces: paint the first layer with a gray shade – it immediately tones down the red and brown base color and you will need fewer white layers.
Coverage is also affected by careful mixing of the paint before starting the painting work and during it. Drying of layers – let the layers dry calmly according to instructions (Al Fresco 2h and Lazy Range min 1h).
With too thin paint layers and unmixed paint, you will definitely have to paint several layers before achieving an opaque and even surface.
You can find the drying time and other instructions on the side of the paint can – please always read the instructions before painting.
Paint drying and curing are different things
Water-based paints, such as Frenchic paints, reach their final hardness in about three weeks. Until then, the paint is fresh. Do not scratch or scrape fresh paint.
If the humidity is too high or the temperature too low in the painting area, the drying of the paint film slows down and the film formation is disturbed. In this case, the painted surface will not be durable and may crack. Drying is faster on porous substrates than on dense and non-absorbent ones.
The surface of Frenchic paints becomes dust dry quickly at normal temperature when painting and can be repainted after two hours.
Although the paint surface dries quickly after the painting process, it does not mean that the surface has achieved its final durability properties in the same time; the wax and other protective properties in the paint continue to cure for weeks.
Surfaces can be used during this time, but heavy strain should be avoided before the paint fully hardens.
Care for, use, store, and clean your painted furniture with appreciation
Whether your furniture is antique, has sentimental value, or is self-painted – appreciate your beautiful painting work and take good care of the painted furniture surface.
This way your wonderful painting work won't go to waste. Normal wear marks are part of everyday life, and the furniture's purpose affects the paint surface's durability.
It's a different matter to paint a side table used for decoration than a kitchen table where more than just eating happens. You can keep a cloth or placemats under plates and glasses/cups on the table – always use trivets under hot dishes.
For example, a kitchen table is used very differently than, say, a sofa. We recommend a protective finish for painted surfaces with heavy use and wear.
If you wonder whether the paint will withstand wear on a dining table top, it's best to be realistic and consider your own use and wear in everyday life, in your own family's way.
Pro Tip! You can add a matte finish Protective Coating, 'Tuff Top Coat', to the surface of a dining table with heavy use to protect the paint surface.
When you paint, for example, a table top, you cannot cover the table with a cloth the next day – the paint is still fresh. The freshly painted surface hardens for about three weeks, so protecting it until then is very important.
If you paint a garden chair, please do not cover the chair with a cushion the next day – the paint is still fresh and cannot dry under the cushions.
Always store painted yard and balcony furniture and items protected from the weather during winter.
The best storage space is airy and spacious, where the furniture won't get bumped. Wooden furniture left outside for the winter swells from moisture and the paint surface gets damaged. Read more about outdoor painting.
Briefly about painting outdoor furniture
Check the weather conditions before starting the painting work.
The best painting weather is warm and cloudy, at least +10C during the day and night (the first 48h), so the paint film dries normally.
Also check that rain, humidity, or other factors do not interfere with the drying process after painting. Cloudy but dry weather and a rain-protected spot are well suited for a painting project.
Please do not paint in too cold, hot, or direct sunlight!
Do not leave freshly painted furniture outside overnight to dry - in case of rain. Nor leave painted furniture outside for the winter - water and ice quickly damage the paint surface if water gets under the paint.
Please only paint outdoor furniture that you can store protected from the weather during winter.
Why? The paint does withstand outdoor conditions, but wooden furniture and other wood surfaces expand and contract due to moisture and dryness, which can cause the paint film to crack, allowing water, snow, and ice to get under the paint and lift it off the wood surface.
The type of wood can affect paint adhesion and absorption; some wood types are naturally oily, such as teak or other 'hardwood' types.
Some factory treatments of garden furniture may have used oil-based coatings or wood preservatives intended to prevent other substances from adhering to the surface. Paint is not meant to stay on such protective treatments.
It is worth asking about the original surface treatment or wood type at the place where the furniture was purchased.
If you have previously oiled your outdoor furniture, it is advisable to continue oiling. It is likely that water-based paint will not adhere well to an oiled surface. Oil can rise to the surface from wood that has been oiled for a long time, even after several years.
Paint storage
Store paints in a dry place at normal temperature. Water-based paint must not freeze. Frozen & thawed paint is no longer recommended for use.
Leftover paint from a painting job remains usable for a long time if the paint has stayed clean and the storage container's lid is sealed airtight.
For example, you can transfer clean paint into a glass jar and store it upside down to make the container completely airtight. Water-thinned paint is not recommended for storage.
If dirt, dust, or other debris has fallen into the paint can during outdoor or indoor painting, it can quickly ruin the paint. Storage temperature should be at least +10 degrees, preferably normal, dry room temperature, in a shaded place.
Read more about paint storage here.
Use protective clothing during painting projects.
You can wash tools with warm water and mild detergent.
Protect the floor and surroundings during the painting project and use safety glasses and gloves as well as appropriate painting clothing (long sleeves and pants).
Indoor painting is best done in a well-ventilated area. Read more here.
Fix mistakes by sanding, not by painting over them.
If something went wrong - it can be fixed: lightly sand the painted surface, clean off the dust, and repaint.
Some prefer to sand between paint layers to achieve an extremely smooth finish. For this, use very fine sandpaper or a handy, reusable, and washable sanding sponge or sanding pad.
Rushing and skipping steps usually leads to an uneven surface and a paint finish that does not last.
Allow time for your project, do various small test paintings, boldly try new techniques, and get to know your painting tools.
Enjoy your painting project!
First try on a practice piece which technique suits you, your tools, and the surface to be painted.
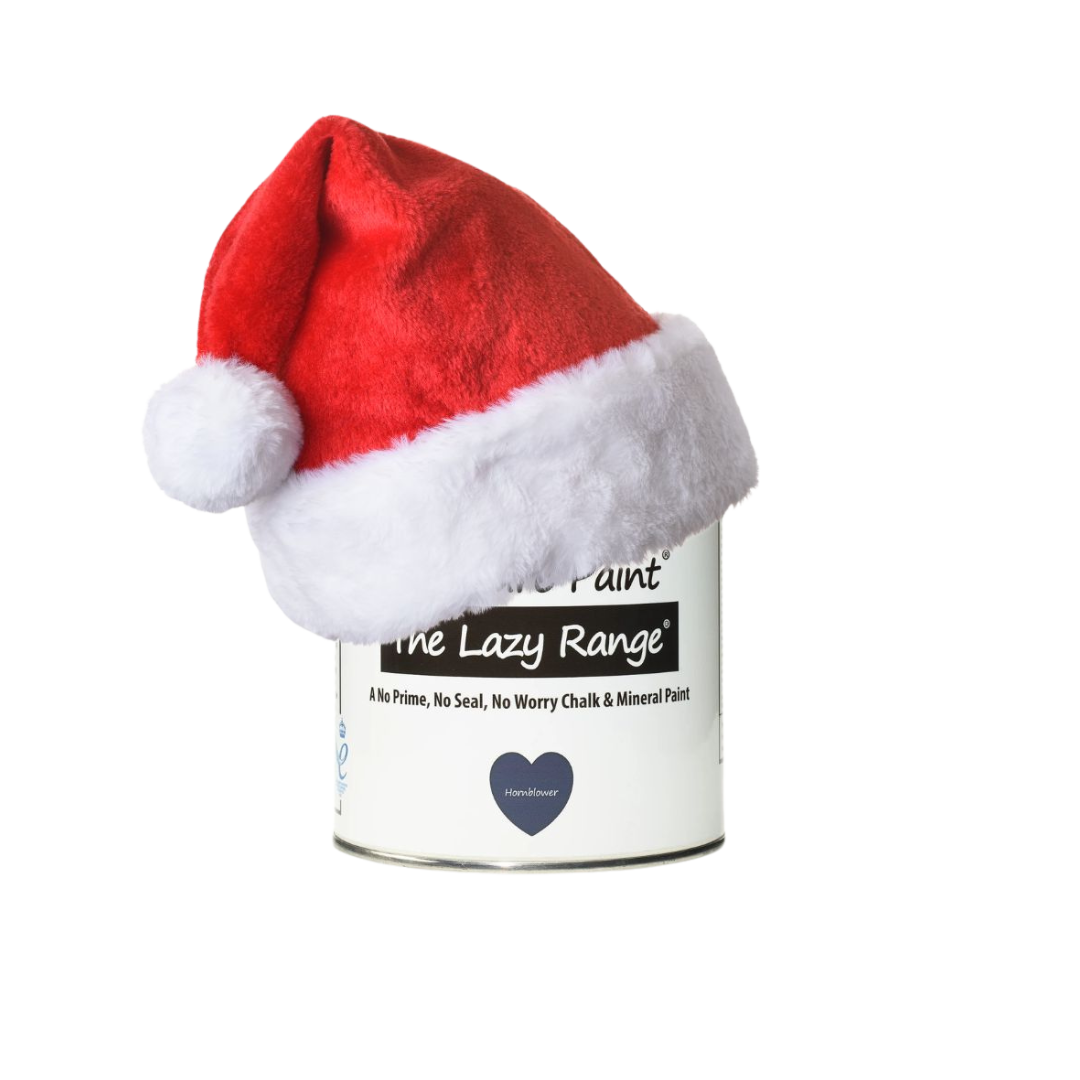
If you haven't tried Frenchic paints before, we recommend the waxed lime paint from the Lazy Range series.
This paint has a new feature, "Self Levelling", which makes it easy to get a beautiful and even surface - leaving little or no brush marks.
Try different tools and find the one that suits you
Also try the roller. This can also create texture if you are not familiar with using a roller. Do not press when painting with a roller and always do a practice painting so you notice the right amount of paint for the roller you use. Too dry or too wet roller leaves an uneven surface. Avoid cheap foam rollers. Learn about microfiber rollers here.
An extra tip for roller painting: apply the paint with a roller, and then while the paint is still wet, lightly go over the area immediately with a brush.
If you haven't tried the oval brushes from the Frenchic range - we warmly recommend them - your painting project will become much easier with them and you will surely fall in love with using them!
It is a pleasure to paint with high-quality and non-toxic paint, but still, a good dose of common sense = painting sense is needed.
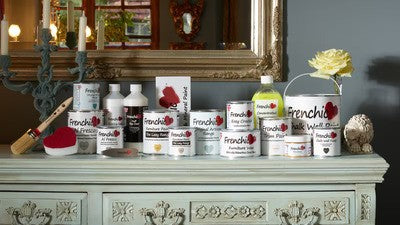
The new, award-winning Frenchic paints have been developed to make your painting projects easier and faster - they level beautifully and dry quickly.
Follow our instructions, and you will surely succeed!
Our website is full of useful instructions and tips:
From here you can go directly to the paint selection guide.
Join the FB group and share your own Frenchic project photos in the group. Bring your painting, upcycling, and renovating skilled friends to the group!
We love diversity and creativity.
We admire the beauty of all the different colours and shades.
We belive in happiness that comes with offering unique and creative products to our customers.