Verkkokaupassamme on ruuhkaa. Varaa aikaa toimitukseen.
How do I use IOD Paint Inlays sheets?
Step 1: Plan the layout of your designs for the surface.
Step 2: Using the grids on the back of the inlay sheet, cut as needed and set aside. If you are using a repeating pattern and are lining up the pattern continuously, trim the extra margin from each sheet.
Step 3: Apply a generous and even layer of mineral-based lime paint to the properly prepared surface. Work in small sections, usually no more than 30x30cm/or sheet size, so you can control the drying window of the paint as you work.
Step 4: While the paint is still wet, place the sheet pattern side down (with grids printed on the back to make it easy to tell the front and back apart) on the wet paint and smooth it out, but avoid moving the sheet in the wet paint.
Step 5: Lightly spray with a steady mist of water to wet the sheet. Use a smooth damp sponge, a soft folded cloth or a small IOD Silicone Paint Blade and dab with even light pressure so that the pattern makes good contact with the painted surface. Avoid excessive movement or dragging of the Paint Inlay after it has been placed, as this may cause blurring or smudging.
Step 6: Repeat steps 3-5 to complete the pattern and line up the sections as needed. If necessary, the raster lines help to match the edges of the pattern together.
Step 7: Allow the Inlay pattern to dry. The drying time can vary from 10 minutes to an hour depending on the conditions. Paper sprayed wet turns lighter when it dries.
Step 8: When you are ready to remove the Paint Inlays from the surface, spray evenly with water again and allow to absorb for 30 seconds; this helps the pattern to come off. Gently pull the paper upwards starting at one corner and holding it at a low angle. It should come off easily without tearing. If not, spray again, wait a moment, then try again.
Step 9: You can fade or soften the pattern with water if you want, because the pigment is still mobile and active. You can even add additional colors.
Step 10: When you are satisfied with the Paint Inlay design, allow the project to dry completely. The drying time varies depending on the thickness of the paint layers, the amount of water used in the process, room temperature and weather conditions. If the surface feels cold, it is not completely dry. To be safe, wait 24 hours.
Step 11: Now it's time to finish the surface with a coating.
There are a few different options for finishing:
Spray your desired water-based sealant with a spray gun designed for paints and surface treatment agents, add e.g. Finishing Coat from the spray bottle.
Lightly brush a water-based polyurethane-type sealer, varnish or epoxy directly onto the work. This method is likely to result in some degree of pigment transfer; this is minimized by avoiding overprocessing.
Create a "mistable" setting spray using a 50/50 mix of water and your favorite water-based sealer. Apply with a fine atomizer. Allow it to dry completely and then apply a brush-on sealer.
Align your work first with a commercially available spray-on sealer or artist's fixative. Let it dry completely and apply your desired finish.
You can also use wax to seal your piece. Apply according to the manufacturer's instructions and buff to a shine as usual.
Some oil-based finishes can be applied directly with a brush to the surface without reactivation. Test on a small area before applying. Note that most oil-based finishes tend to turn amber over time, and this is most noticeable on lighter colors.
IMPORTANT NOTE: Always check sealant/finish product compatibility when using more than one product.
How do I use IOD Paint Inlays sheets?
Step 1: Plan the layout of your designs for the surface.
Step 2: Using the grids on the back of the inlay sheet, cut as needed and set aside. If you are using a repeating pattern and are lining up the pattern continuously, trim the extra margin from each sheet.
Step 3: Apply a generous and even layer of mineral-based lime paint to the properly prepared surface. Work in small sections, usually no more than 30x30cm/or sheet size, so you can control the drying window of the paint as you work.
Step 4: While the paint is still wet, place the sheet pattern side down (with grids printed on the back to make it easy to tell the front and back apart) on the wet paint and smooth it out, but avoid moving the sheet in the wet paint.
Step 5: Lightly spray with a steady mist of water to wet the sheet. Use a smooth damp sponge, a soft folded cloth or a small IOD Silicone Paint Blade and dab with even light pressure so that the pattern makes good contact with the painted surface. Avoid excessive movement or dragging of the Paint Inlay after it has been placed, as this may cause blurring or smudging.
Step 6: Repeat steps 3-5 to complete the pattern and line up the sections as needed. If necessary, the raster lines help to match the edges of the pattern together.
Step 7: Allow the Inlay pattern to dry. The drying time can vary from 10 minutes to an hour depending on the conditions. Paper sprayed wet turns lighter when it dries.
Step 8: When you are ready to remove the Paint Inlays from the surface, spray evenly with water again and allow to absorb for 30 seconds; this helps the pattern to come off. Gently pull the paper upwards starting at one corner and holding it at a low angle. It should come off easily without tearing. If not, spray again, wait a moment, then try again.
Step 9: You can fade or soften the pattern with water if you want, because the pigment is still mobile and active. You can even add additional colors.
Step 10: When you are satisfied with the Paint Inlay design, allow the project to dry completely. The drying time varies depending on the thickness of the paint layers, the amount of water used in the process, room temperature and weather conditions. If the surface feels cold, it is not completely dry. To be safe, wait 24 hours.
Step 11: Now it's time to finish the surface with a coating.
There are a few different options for finishing:
Spray your desired water-based sealant with a spray gun designed for paints and surface treatment agents, add e.g. Finishing Coat from the spray bottle.
Lightly brush a water-based polyurethane-type sealer, varnish or epoxy directly onto the work. This method is likely to result in some degree of pigment transfer; this is minimized by avoiding overprocessing.
Create a "mistable" setting spray using a 50/50 mix of water and your favorite water-based sealer. Apply with a fine atomizer. Allow it to dry completely and then apply a brush-on sealer.
Align your work first with a commercially available spray-on sealer or artist's fixative. Let it dry completely and apply your desired finish.
You can also use wax to seal your piece. Apply according to the manufacturer's instructions and buff to a shine as usual.
Some oil-based finishes can be applied directly with a brush to the surface without reactivation. Test on a small area before applying. Note that most oil-based finishes tend to turn amber over time, and this is most noticeable on lighter colors.
IMPORTANT NOTE: Always check sealant/finish product compatibility when using more than one product.
Vinkki! Jos olet innokas nikkari tai maalari ja teet paljon erilaisia DIY-projekteja, niin kaksi Frenchic-tuotetta ovat - 'must have'- tekevien DIY-ihmisten luottotuotteita, joita kannattaa aina olla omassa maalihyllyssä saatavilla kun tekemisen into iskee: Frenchic-vahat ja Finishing Coat. Nämä monipuoliset Frenchic-tuotteet sopivat hyvin erilaisiin maalaus- ja diy projekteihin.
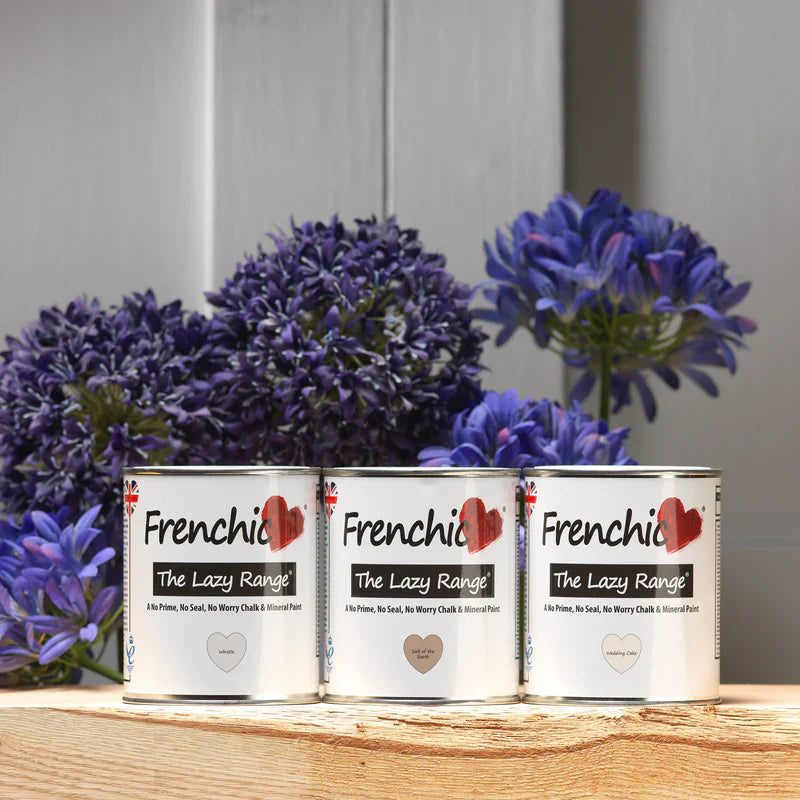
Ja tietysti valkoinen ja musta maali, joita voit käyttää omiin sävysekoituksiin, valitse esimerkiksi puhdas valkoinen Wedding Cake ja musta Loof.
Voit lukea lisää sävyistä tästä.
Huomioi myös, että varaat tarpeeksi maalia projektiisi:
Easy to use
High quality
Friendly customer service
Fast delivery
How do I use IOD Paint Inlays sheets?
Step 1: Plan the layout of your designs for the surface.
Step 2: Using the grids on the back of the inlay sheet, cut as needed and set aside. If you are using a repeating pattern and are lining up the pattern continuously, trim the extra margin from each sheet.
Step 3: Apply a generous and even layer of mineral-based lime paint to the properly prepared surface. Work in small sections, usually no more than 30x30cm/or sheet size, so you can control the drying window of the paint as you work.
Step 4: While the paint is still wet, place the sheet pattern side down (with grids printed on the back to make it easy to tell the front and back apart) on the wet paint and smooth it out, but avoid moving the sheet in the wet paint.
Step 5: Lightly spray with a steady mist of water to wet the sheet. Use a smooth damp sponge, a soft folded cloth or a small IOD Silicone Paint Blade and dab with even light pressure so that the pattern makes good contact with the painted surface. Avoid excessive movement or dragging of the Paint Inlay after it has been placed, as this may cause blurring or smudging.
Step 6: Repeat steps 3-5 to complete the pattern and line up the sections as needed. If necessary, the raster lines help to match the edges of the pattern together.
Step 7: Allow the Inlay pattern to dry. The drying time can vary from 10 minutes to an hour depending on the conditions. Paper sprayed wet turns lighter when it dries.
Step 8: When you are ready to remove the Paint Inlays from the surface, spray evenly with water again and allow to absorb for 30 seconds; this helps the pattern to come off. Gently pull the paper upwards starting at one corner and holding it at a low angle. It should come off easily without tearing. If not, spray again, wait a moment, then try again.
Step 9: You can fade or soften the pattern with water if you want, because the pigment is still mobile and active. You can even add additional colors.
Step 10: When you are satisfied with the Paint Inlay design, allow the project to dry completely. The drying time varies depending on the thickness of the paint layers, the amount of water used in the process, room temperature and weather conditions. If the surface feels cold, it is not completely dry. To be safe, wait 24 hours.
Step 11: Now it's time to finish the surface with a coating.
There are a few different options for finishing:
Spray your desired water-based sealant with a spray gun designed for paints and surface treatment agents, add e.g. Finishing Coat from the spray bottle.
Lightly brush a water-based polyurethane-type sealer, varnish or epoxy directly onto the work. This method is likely to result in some degree of pigment transfer; this is minimized by avoiding overprocessing.
Create a "mistable" setting spray using a 50/50 mix of water and your favorite water-based sealer. Apply with a fine atomizer. Allow it to dry completely and then apply a brush-on sealer.
Align your work first with a commercially available spray-on sealer or artist's fixative. Let it dry completely and apply your desired finish.
You can also use wax to seal your piece. Apply according to the manufacturer's instructions and buff to a shine as usual.
Some oil-based finishes can be applied directly with a brush to the surface without reactivation. Test on a small area before applying. Note that most oil-based finishes tend to turn amber over time, and this is most noticeable on lighter colors.
IMPORTANT NOTE: Always check sealant/finish product compatibility when using more than one product.
Vinkki! Jos olet innokas nikkari tai maalari ja teet paljon erilaisia DIY-projekteja, niin kaksi Frenchic-tuotetta ovat - 'must have'- tekevien DIY-ihmisten luottotuotteita, joita kannattaa aina olla omassa maalihyllyssä saatavilla kun tekemisen into iskee: Frenchic-vahat ja Finishing Coat. Nämä monipuoliset Frenchic-tuotteet sopivat hyvin erilaisiin maalaus- ja diy projekteihin.
Ja tietysti valkoinen ja musta maali, joita voit käyttää omiin sävysekoituksiin, valitse esimerkiksi puhdas valkoinen Wedding Cake ja musta Loof.
Voit lukea lisää sävyistä tästä.
Huomioi myös, että varaat tarpeeksi maalia projektiisi: