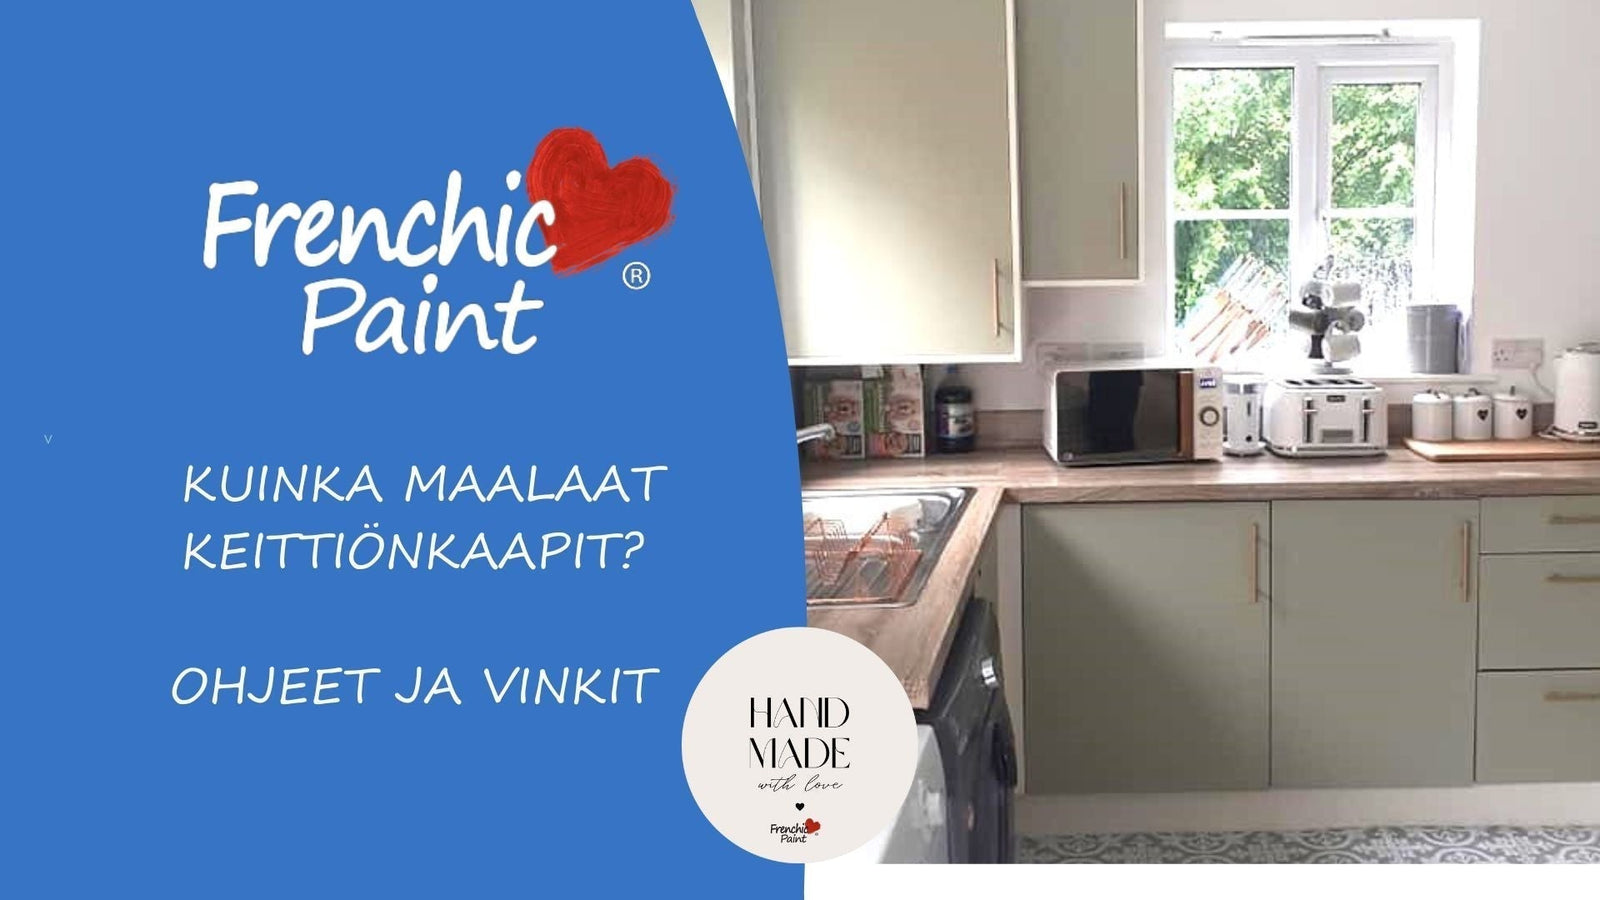


How to succeed in painting IKEA furniture – 3 tips
Painting IKEA furniture and other pieces is an easy way to add personality to your home.
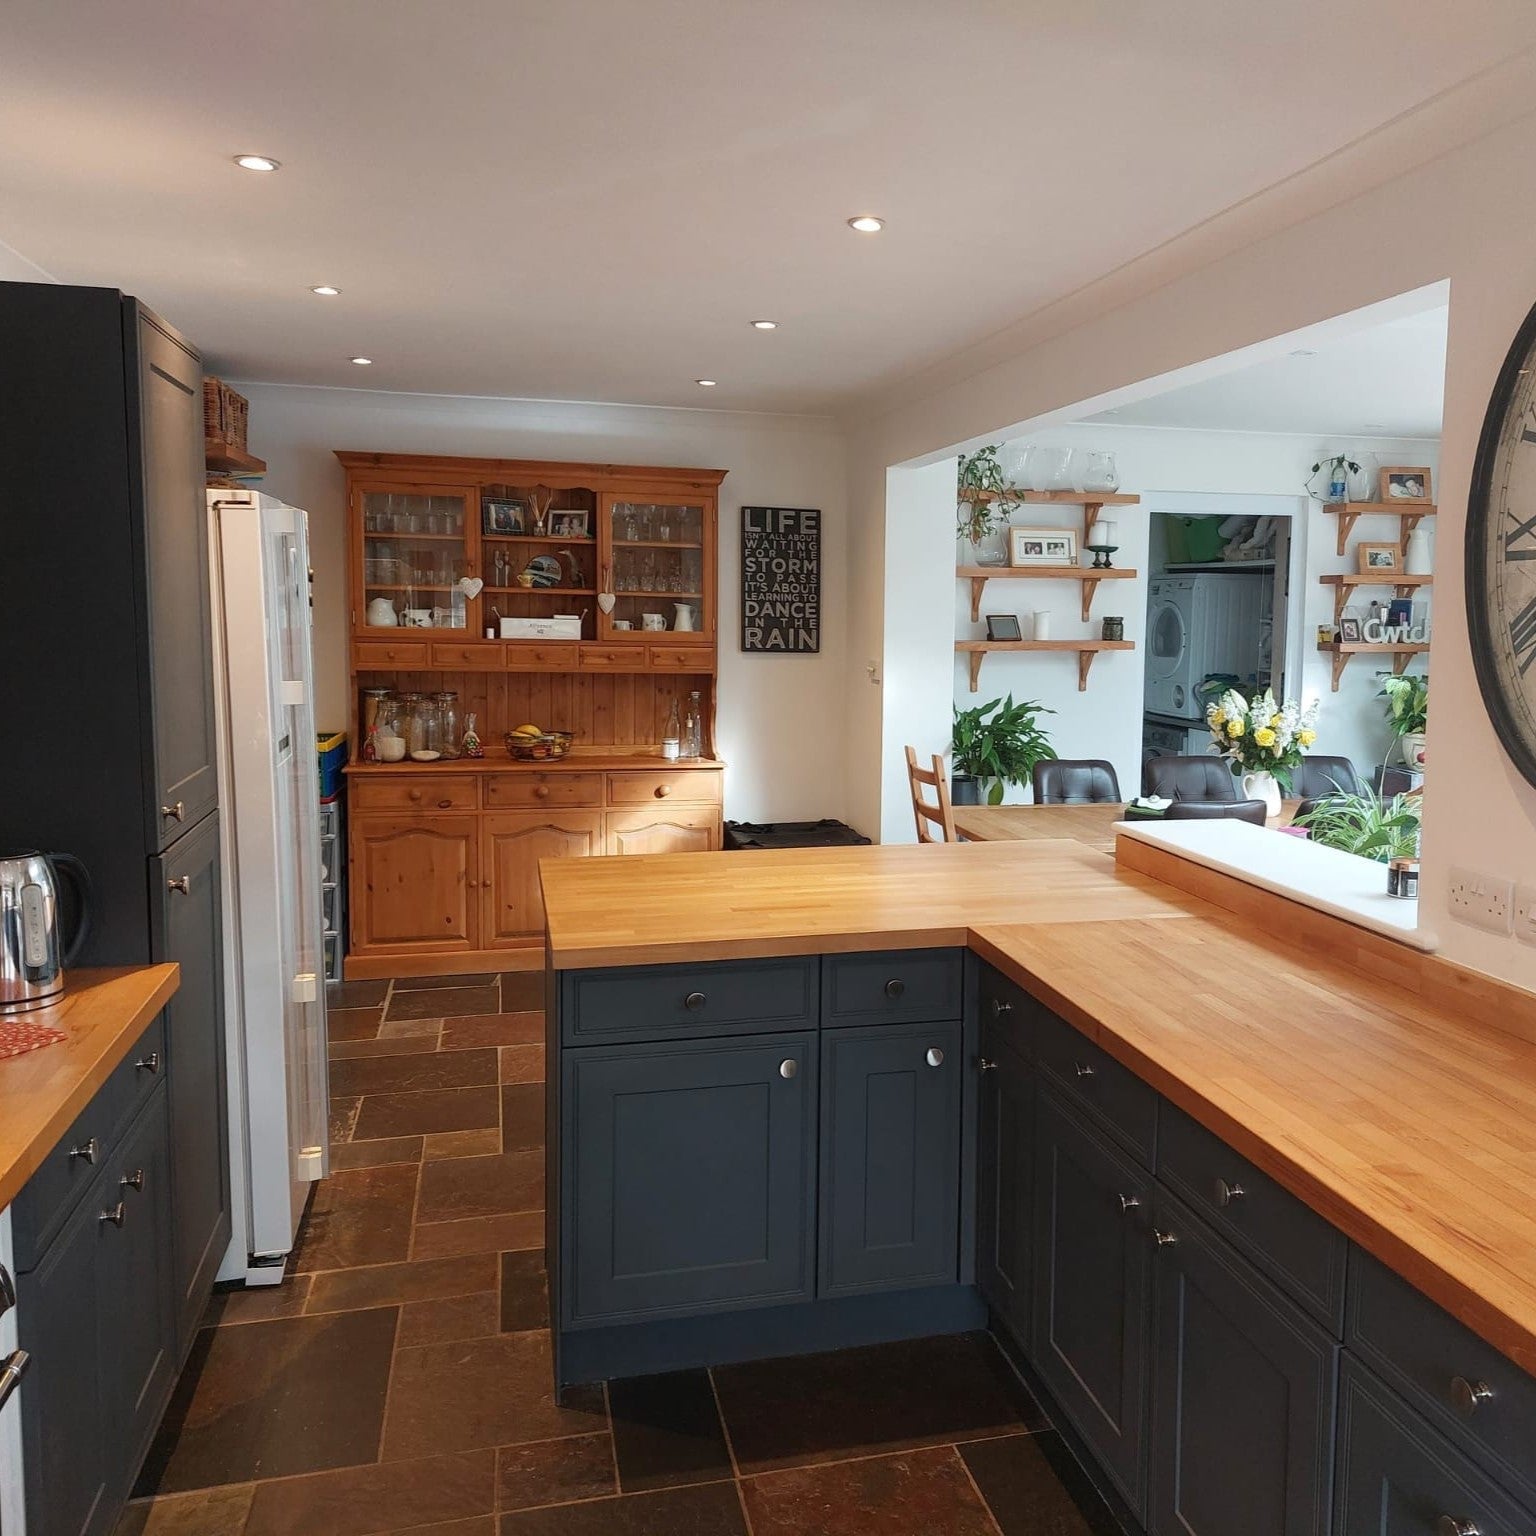
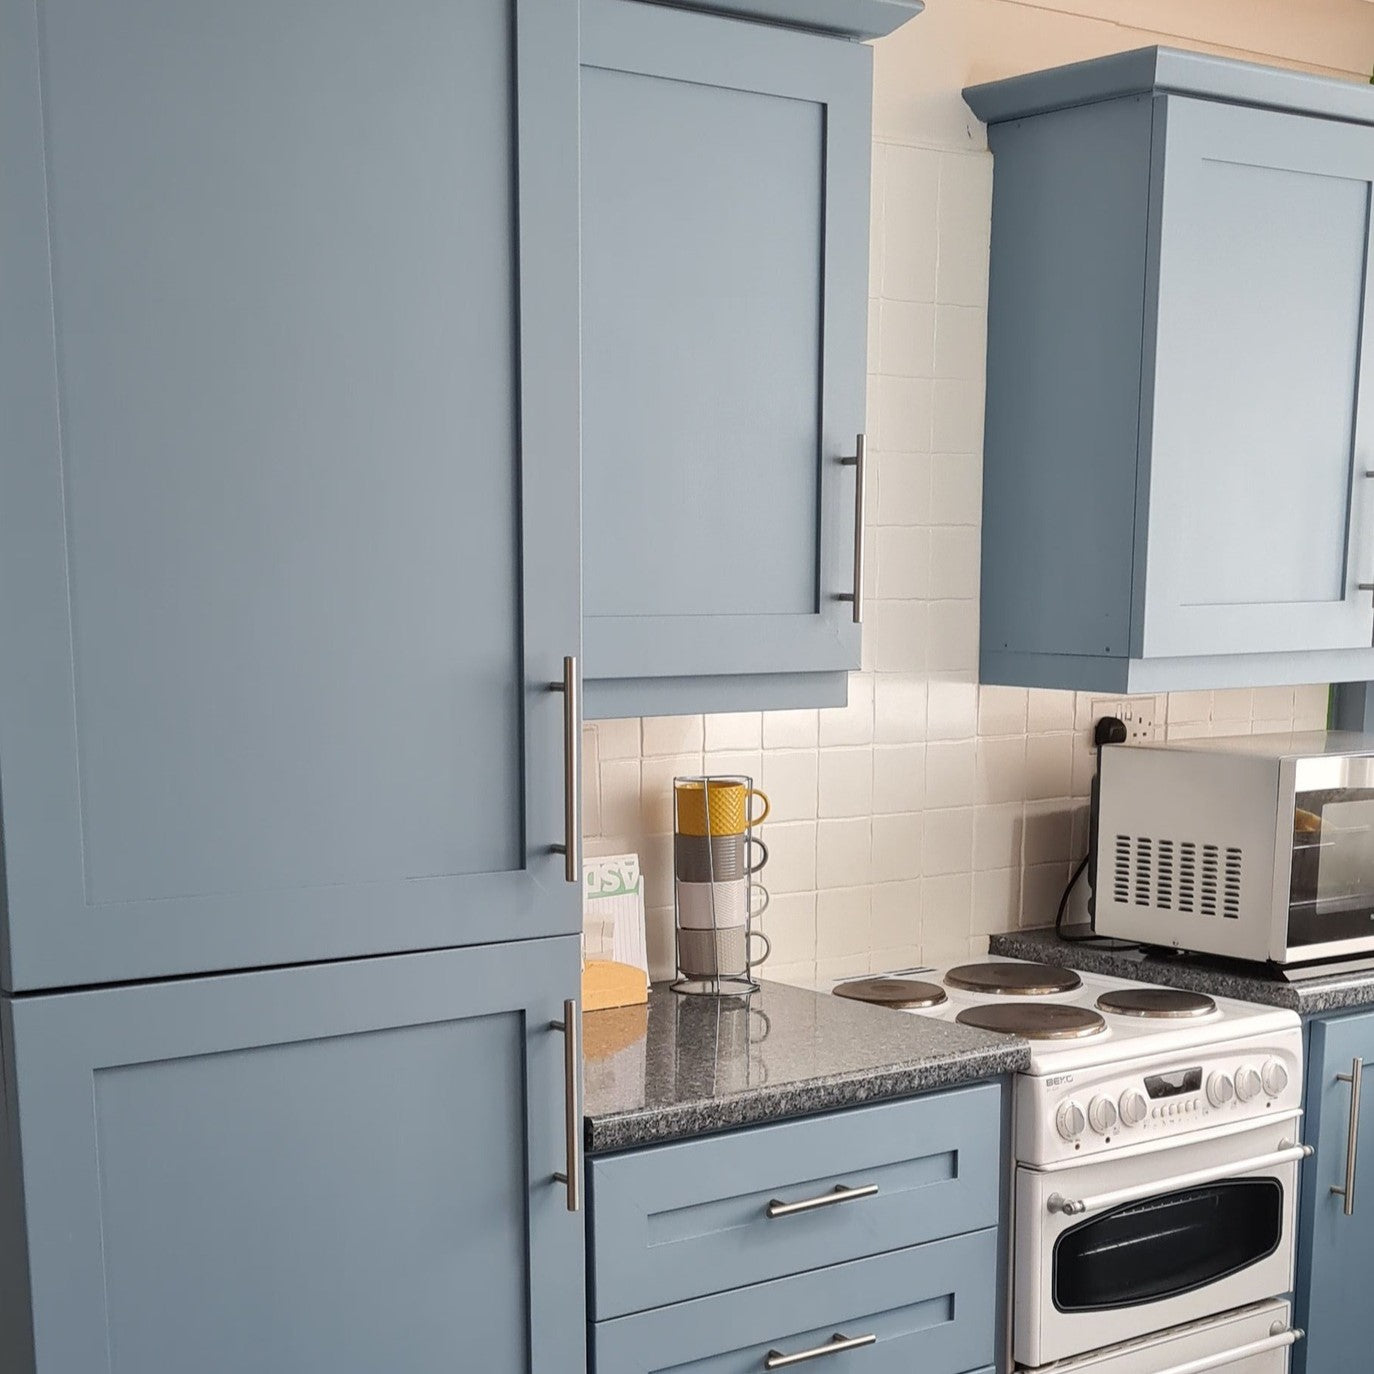
Whether you're looking for the perfect paint shade, a striking eye-catcher, or want to refresh an old piece of furniture, a little painting works wonders for your old furniture. You can choose a color for your furniture painting from any Frenchic series!

Before picking up the brush, check out these tips to achieve a professional result
1. Careful preparation guarantees success
The importance of preparation cannot be overstated. Although IKEA furniture often looks neat straight out of the box, its surface is usually smooth and even slightly waxy, so paint won't adhere without proper preparation. Without cleaning and sanding, the paint surface can easily chip and peel off.
Start by thoroughly cleaning the furniture.
Frenchic Sugar Soap cleaner is perfect for this, as it effectively removes dust, grease, and fingerprints. Even if the furniture is new, cleaning is an important step.
When the furniture is dry, lightly sand the surface with 120-grit sandpaper. The goal is not to remove the old surface but to create a roughness that the paint will adhere to better. So avoid excessive sanding. Finally, remove dust with a damp cloth.

2. Less is more – thin and 'normal' paint layers
When painting, remember to first test both the paint and tools to get a feel for your equipment and achieve a result you like.
Frenchic paints do not need thinning. Too thin paint layers dry too quickly, and too thick ones dry slowly. Less is more. Too thick a paint layer can cause drips, streaks, and visible brush marks. A better result is achieved with normal, slightly thinner, and even paint layers.
Although thinner layers require more coats, the result rewards with smoothness and a polished appearance.

3. Lightly sand between paint layers
A perfectly smooth and flawless surface is created when you sand between paint layers. Use fine-grit sandpaper, for example, 240 grit, and lightly sand the surface by hand. This removes any unevenness and creates a good adhesion surface for the next paint layer.
Again, remember to remove dust with a damp cloth before the next paint layer (only when the previous layer is completely dry).
Although this step may feel like extra work, it significantly affects the final result.

With these three tips, you will succeed in painting IKEA furniture into striking and personal interior elements.
Read more here about painting laminate furniture.
So remember: thorough preparation, thin paint layers, and light sanding between coats.
The result is worth the effort and gives your old furniture a new life!