

How do I prevent and fix paint runs?
Paint runs can occur during almost any painting project, whether it's walls or furniture.
Far too often you only notice them once they have dried, which makes removal harder - and adds frustration.
The best way is to prevent them completely. A little effort and vigilance save time later. Fortunately, there are several tips and tricks to help you avoid paint runs.
In this blog, you get instructions on how to prevent paint runs - and how to fix runs you notice.
How do I prevent paint runs?
First of all, it's important to understand what causes runs in the first place.
They occur, for example, when the paint is:
Too thin and runny
Paint is applied too thickly
Paint is applied unevenly
You can avoid these problems when
1. Start by mixing the paint well
As basic as it sounds, very thorough paint mixing really makes a difference - and shaking the paint can is nowhere near as effective.
Pigments in the paint settle over time to the bottom of the can, thinning the paint at the top. For this reason, mixing is important also a few times during longer painting projects.
With a wide tool, it's best to ensure all ingredients mix down to the bottom of the can. If you don't want to dirty your best straightedge, wooden spoon, or other temporary tool, it's worth investing in a paint mixer made for the purpose.
2. Use dry / tacky brushes and rollers
Un-dried tools can contain surprisingly much water.
If you use tools that are too wet, water will thin the paint, which can cause it to run.
Especially rollers should be squeezed and spun very thoroughly dry/tacky before use - and check again before you start.
Leave brushes to dry flat or hanging bristles down so water doesn't stay in the metal ferrule. Instructions for using and caring for brushes and rollers can be found here.
3. Size matters
Using a brush or roller that is too large can cause excess paint to gather on edges or around edges and recesses.
This leads to paint dripping, especially on items like trims, hems, paneling, and where walls meet woodwork. Always outline the edges of the areas to be painted first with an appropriately sized brush.
4. The right amount of paint
Another top tip is to avoid overloading the brush or roller with paint. This usually leads to uneven coverage, which can mean streaks on walls and drips forming around detailed areas.
Especially when painting with a roller, there must be enough paint so the roller doesn’t leave streaks – test your tools before the project to find the right amount of paint for your tools.
Start from the corners and paint away from them, keeping the pressure light and even with longer strokes. Always finish with long smoothing strokes.
5. Be alert and peek under edges
Try to make it a habit to check edges and trim (and corners) as you work, since drips are easiest to smooth out before the paint starts to dry.
How to fix drips
If you notice drips have appeared despite your efforts, and you can’t smooth them out with a brush because they have dried, all is not lost yet.
You can successfully deal with them with the right approach...
1. Don’t touch fresh drips
Trying to brush away a drip or unevenness just as the paint starts to dry won’t work and can turn a small problem into a much bigger one by spreading partially dried paint.
Let the paint dry completely – and remember, this may take longer than usual because the paint is thicker at the drip.
2. Assess first
The tools you need depend on the size and extent of the drip as well as the type of paint you are using. More durable paints are harder to work with for obvious reasons!
Whatever approach you use, try to avoid damaging the surrounding paint, as this will make the area to be treated larger overall.
3. Sanding small drips
If the paint drip is small, you might be able to sand it off. Try from fine to medium grit sandpaper and see how you manage.
Keep the sanding direction along the length of the drip, not across it, to minimize the impact on the surrounding paint. Choose a reusable and washable soft or hard sanding sponge for hand sanding.
4. Use a scraper for larger drips
For larger or more stubborn drips, a clean scraper blade or similar should suffice. Remove as much of the drip as you can, then smooth the residue with sandpaper – again, follow the defect length as above.
If the paint is still a bit tacky, you might find it easier to let the paint dry longer before sanding. Choose a quality and durable scraper here.
5. Spot paint the sanded area
You need to repaint the sanded area. Try to do this the same way it was originally painted to minimize the chance that the surface texture looks different (which draws attention).
Usually, instead of spot painting, it’s better to repaint the entire area. After removing sanding dust with a clean, slightly damp cloth, use a brush or roller as needed for spot painting.
6. Use filler for deeper scratches
If you notice that removing dried drips has caused scratches, you may need to use filler/putty to even out the surface. Choose a filler suitable for painted surfaces (or a multi-purpose product).
Prepare the area by sanding it smooth before applying according to its instructions. Sand lightly again once the filler has dried, and repaint as described above.
Some paints work best over filler if a primer is used. By choosing a self-priming paint, you don’t have to worry about adhesion.
However, some fillers can be porous and absorb paint, which can lead to an uneven surface. If this happens, you may need to lightly sand again before applying the second coat of paint.
Always start with quality paint
The above tips help you prevent paint drips and fix any other slips.
Along with these tips, it helps that the starting point is a top-quality paint.
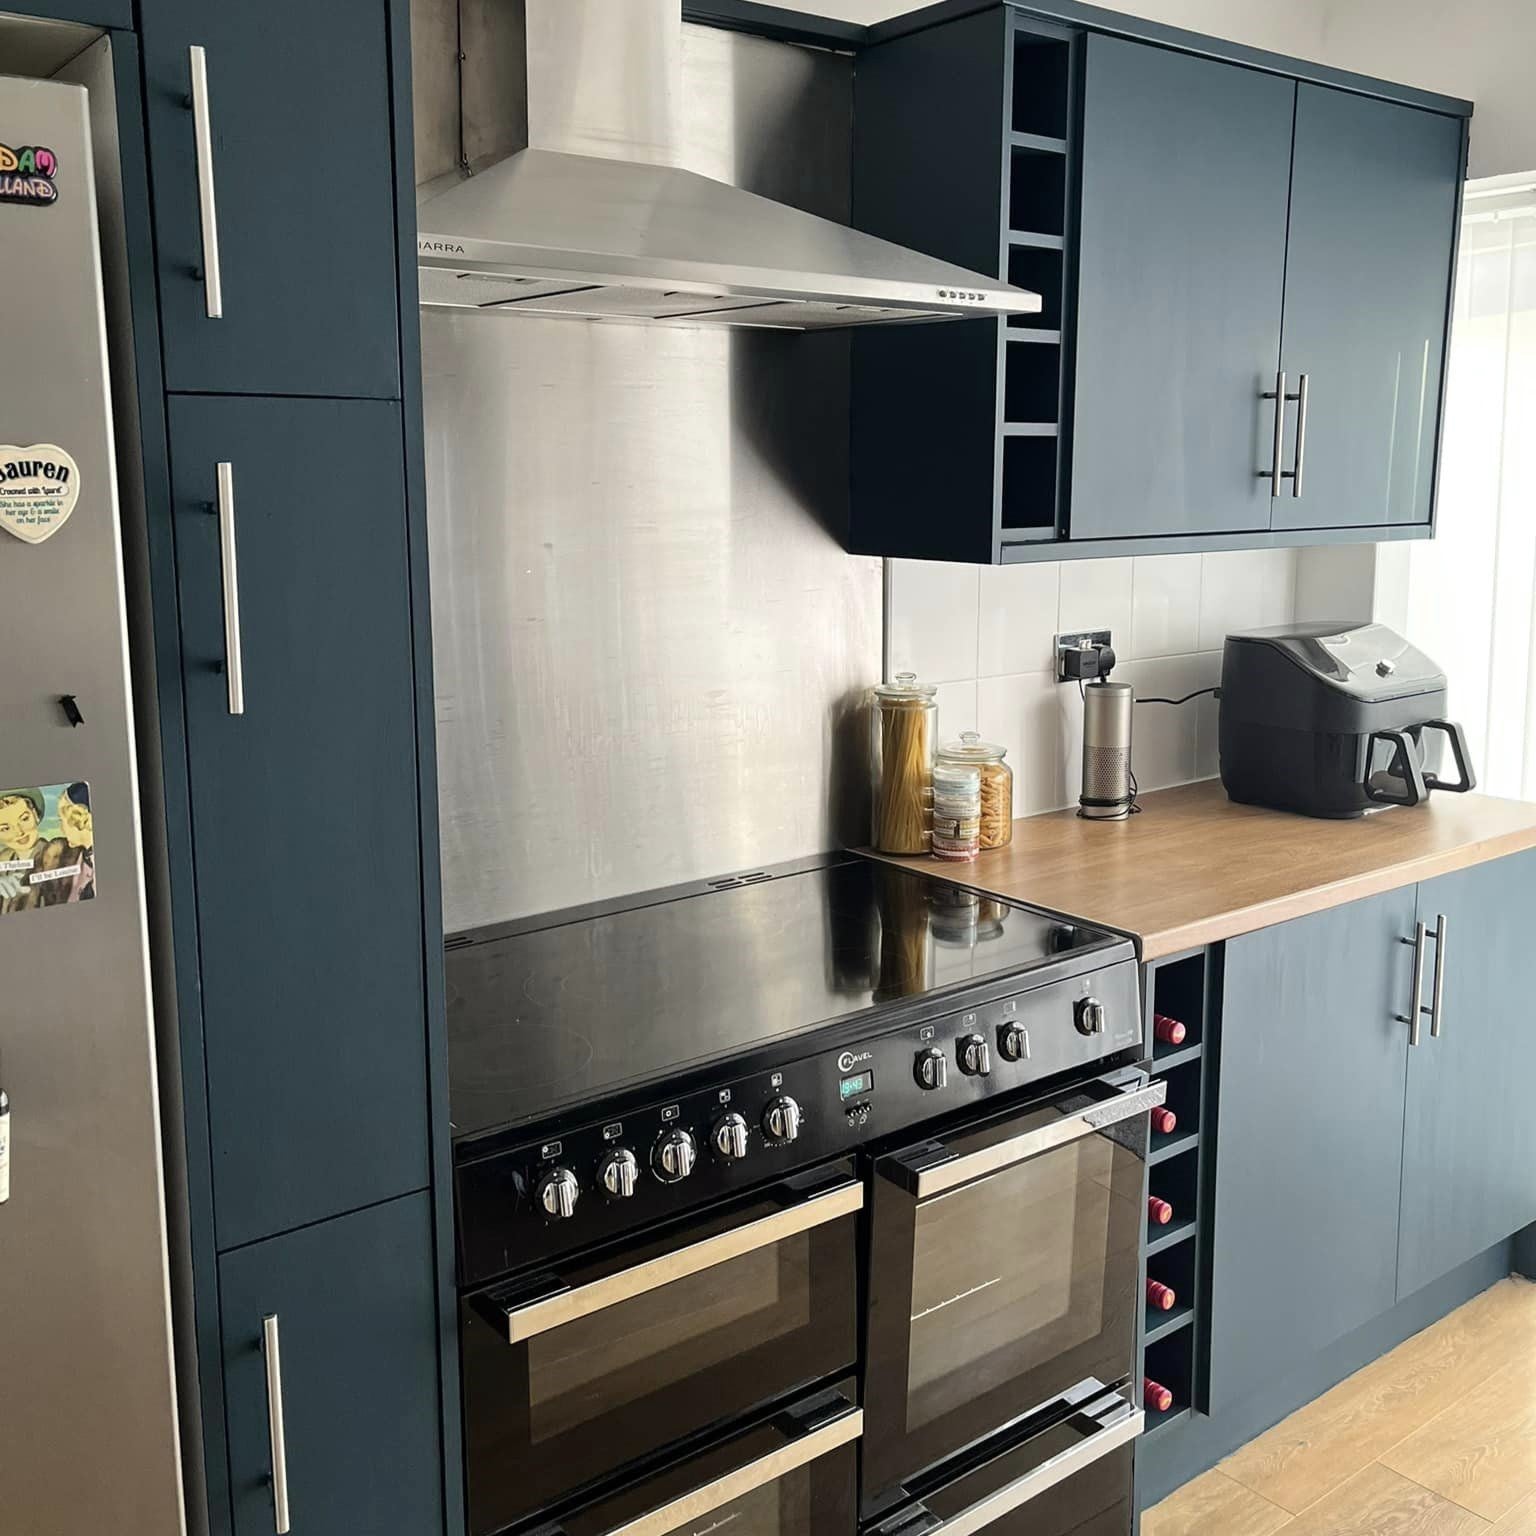
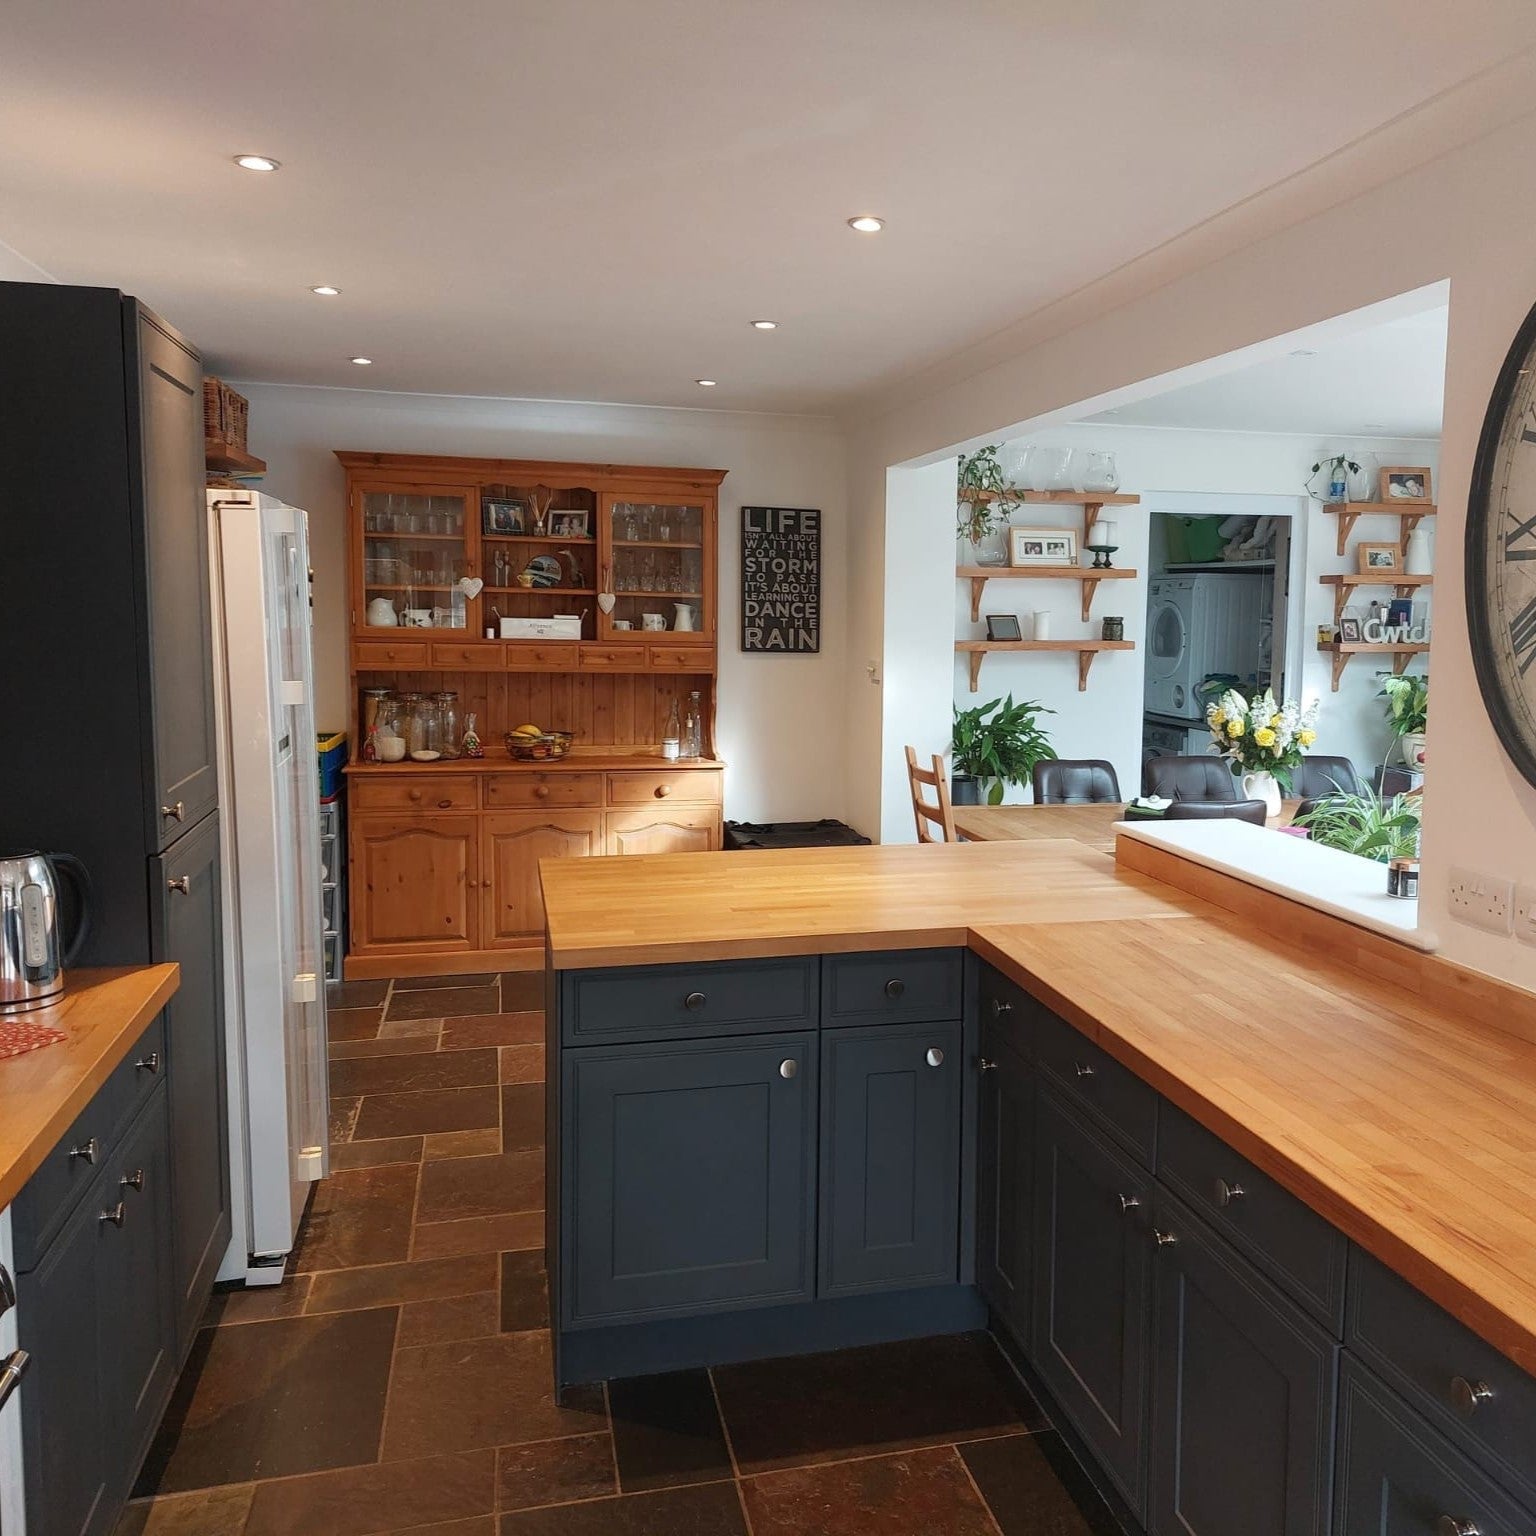
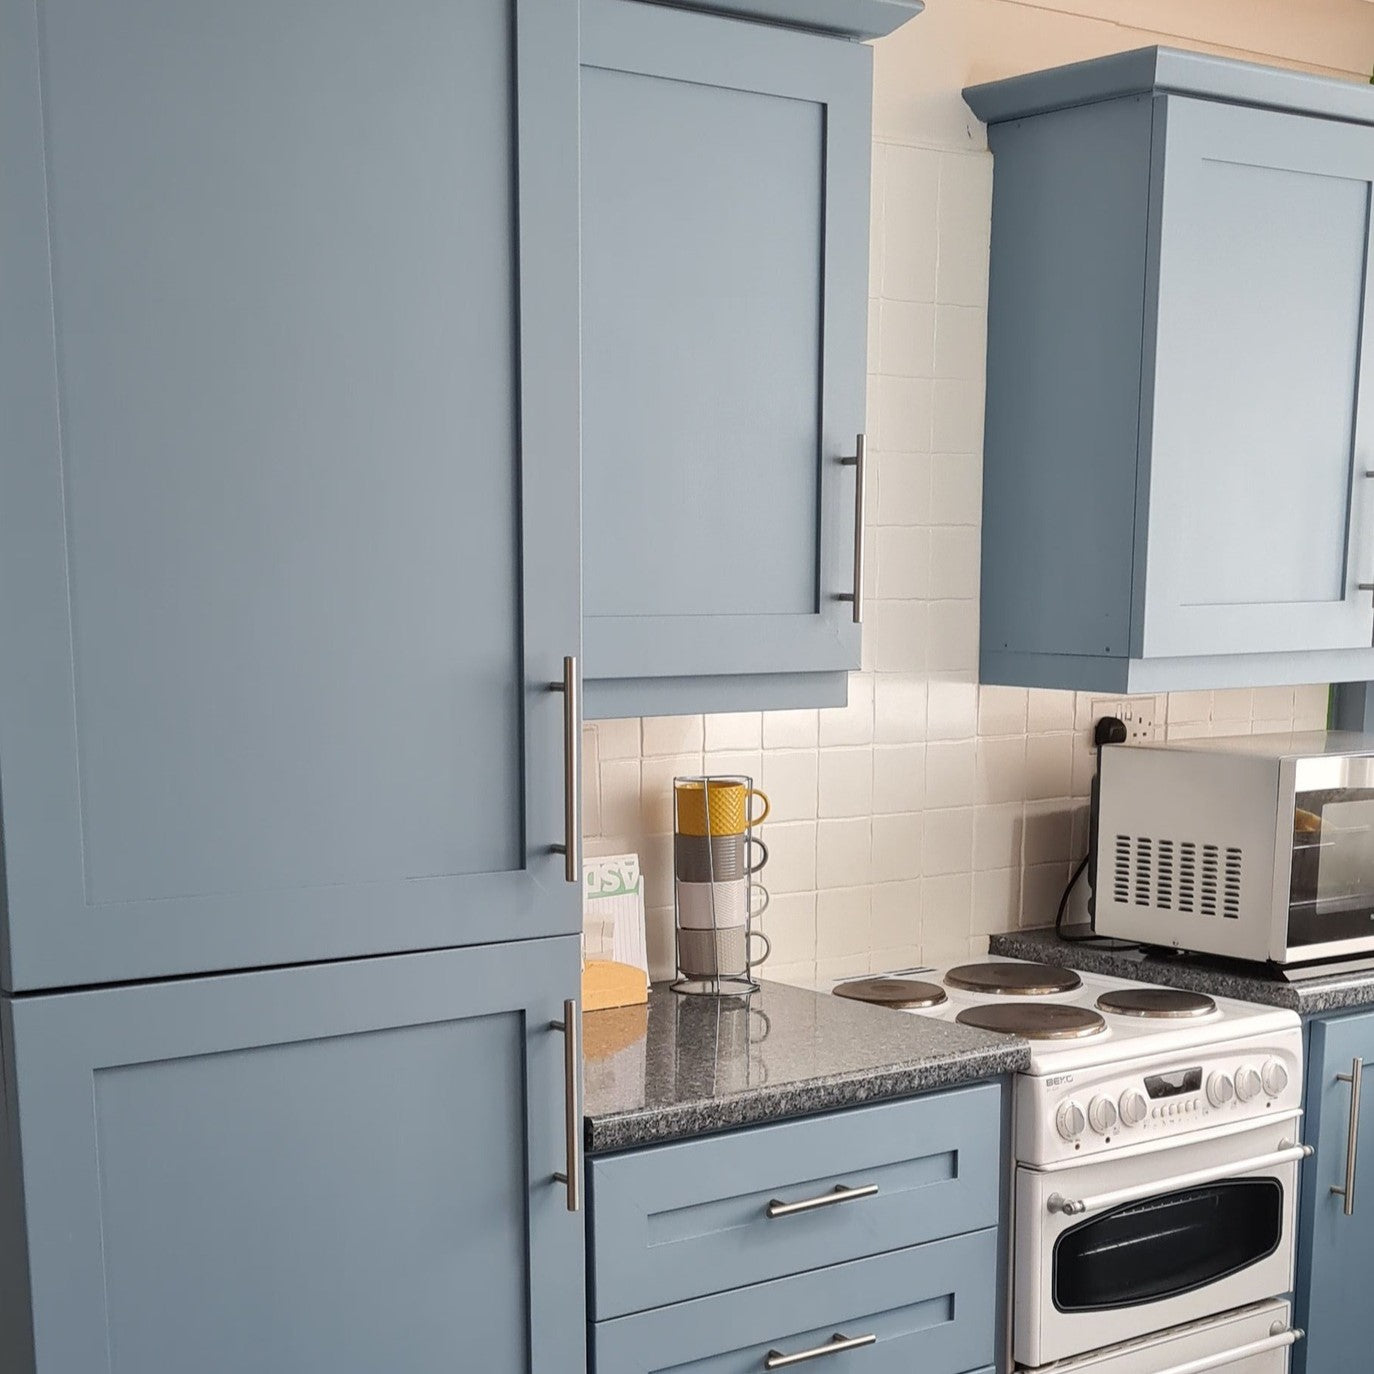
From the Frenchic range, you can choose from a wide selection of beautiful shades and quality paint for furniture, walls, outdoor projects, and much more.
Thanks to the features of Frenchic paints, preparation work and paint dripping are minimized, and fixing the paint after removing drips etc. is easier.
Crowning this is a selection of stunning colors that ensure your project looks perfect! Explore the Frenchic ranges here.