
Decoupage technique is popular – here are easy instructions and tips
Layering and combining different painting techniques is the key reason why furniture painted with chalk paint looks like artworks – something almost impossible to achieve with conventional furniture paints.
You need courage and as many tools and shades as possible – this way, the result is lively and interesting. We have compiled this knowledge base for you to get started easily. We also offer smaller picture sheets for small projects and practice.
Art sheets are impressive, about 43 x 58 cm in size, as they are intended for use on furniture and various mixed media art projects.
History of Decoupage
Découpage is a 20th-century word derived from the French word découpeur, meaning cutting. Paper cutouts are assembled and attached to a painted or lacquered surface, making the result look like a painting or inlay.
In China, paper cuttings dating back to the 13th century were used to decorate lanterns, windows, and boxes. Italy, especially Venice, brought this art to Europe in the 17th century. Decoupage has evolved over centuries and offers endless creative possibilities.
This Frenchic Blog introduces the decoupage technique for furniture, and at the end, you can see a video example of one project being completed along with a list of supplies to get you started.
Shopping – beautiful art sheets for decoupage technique

Grab easy tips here to ensure your success!
-
Prepare the surface
Everything starts with good preparation. Make sure the surface is clean and dust-free. -
Choose the base color carefully
Consider the area you intend to cover with the sheet:
- Full coverage: choose a light base color so the sheet's patterns stand out.
- Partial coverage: use a shade matching the sheet's background color for a natural finish.
-
Smooth the surface
Paint the surface smooth, sand lightly, and remove dust. -
Place the sheet
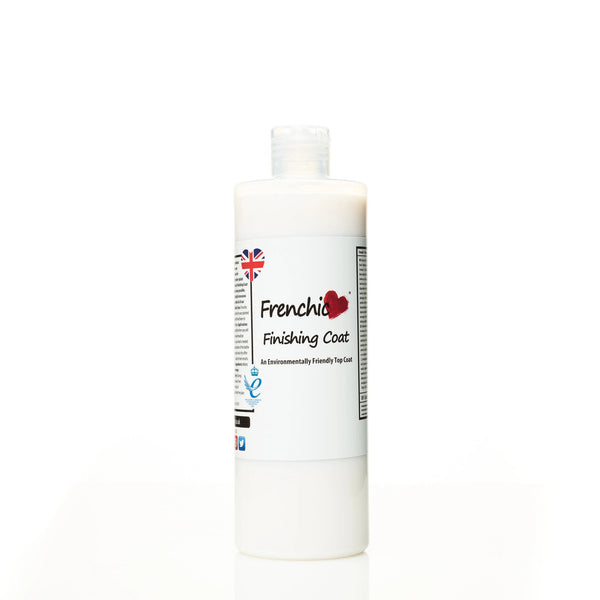
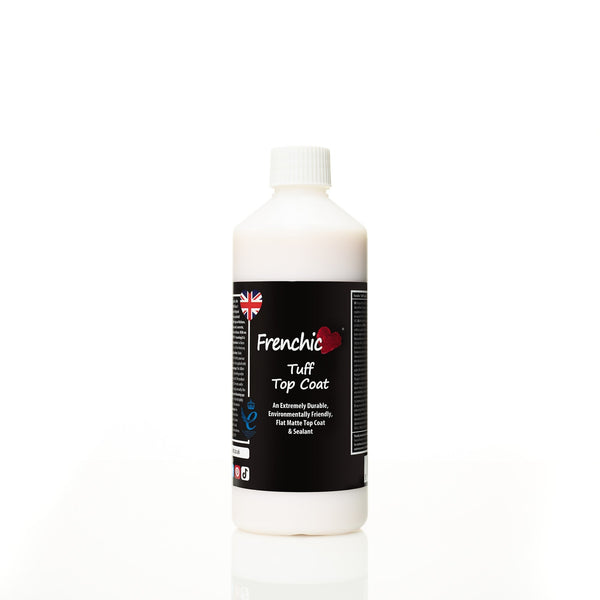
Apply a thin layer of Finishing Coat or Tuff Top Coat and place the sheet on a damp surface. Smooth gently using a plastic bag. -
Separate the layers of the sheet
Use only the top, patterned layer. -
Try this instead of scissors
Wet the brush and draw along the outer edge of the pattern, then gently tear – this makes the edge look natural. -
Dry and finish
Dry with a hairdryer, sand lightly, and add a new layer of Finishing Coat. Repeat 1–2 times if necessary.


-
Add a special detail (optional)
Try Easy Crackle to create a crackle effect. First paint with a dark shade, add Easy Crackle, and finish with a light one – resulting in a stunning vintage surface.
Fun moments with the decoupage technique – enjoy creativity and a beautiful result!
You can finish small and large furniture with the decoupage technique

Decoupage technique in small and large scale
The most skillful works use several shades, waxes, and crackle agents. At best, the image looks hand-painted.
Watch the video at the end of the blog showing how easily you can attach a decoupage sheet to furniture.

DIY recycled art
Make a painting on an old frame and use a decoupage sheet as the image – perfect for recycled decor!

Choose furniture
The size and shape of the furniture affect the choice of sheet and image. Clean the surface thoroughly with Sugar Soap before painting.

Choosing color and base color
It's not advisable to choose a light sheet for a dark surface – the colors won't look natural. Shades show best on a light base.

A white base brings out the colors
You can use, for example, Lazy Range: Whitey White or Wedding Cake shades.
Sheet placement and attachment
The sheet is placed like wallpaper and cut open at the seams. Handles are removed before attachment.
Painting and finishing
Add shades and blend edges. You can continue the image with paint. The crackling effect is created with Easy Crackle.
Finish with waxes and Finishing Coat – you get a durable and beautiful surface. Read more about using waxes.
Supplies for decoupage project
- Sheet
- Hairdryer
- Plastic bag or cling film
- Sanding tools
- Cleaning agent
- Brushes
- Finishing Coat
- Brown wax
- Easy Crackle
- White primer
See other projects in our Facebook group!
Watch the video on how an old dresser becomes a stunning piece using decoupage sheets: