
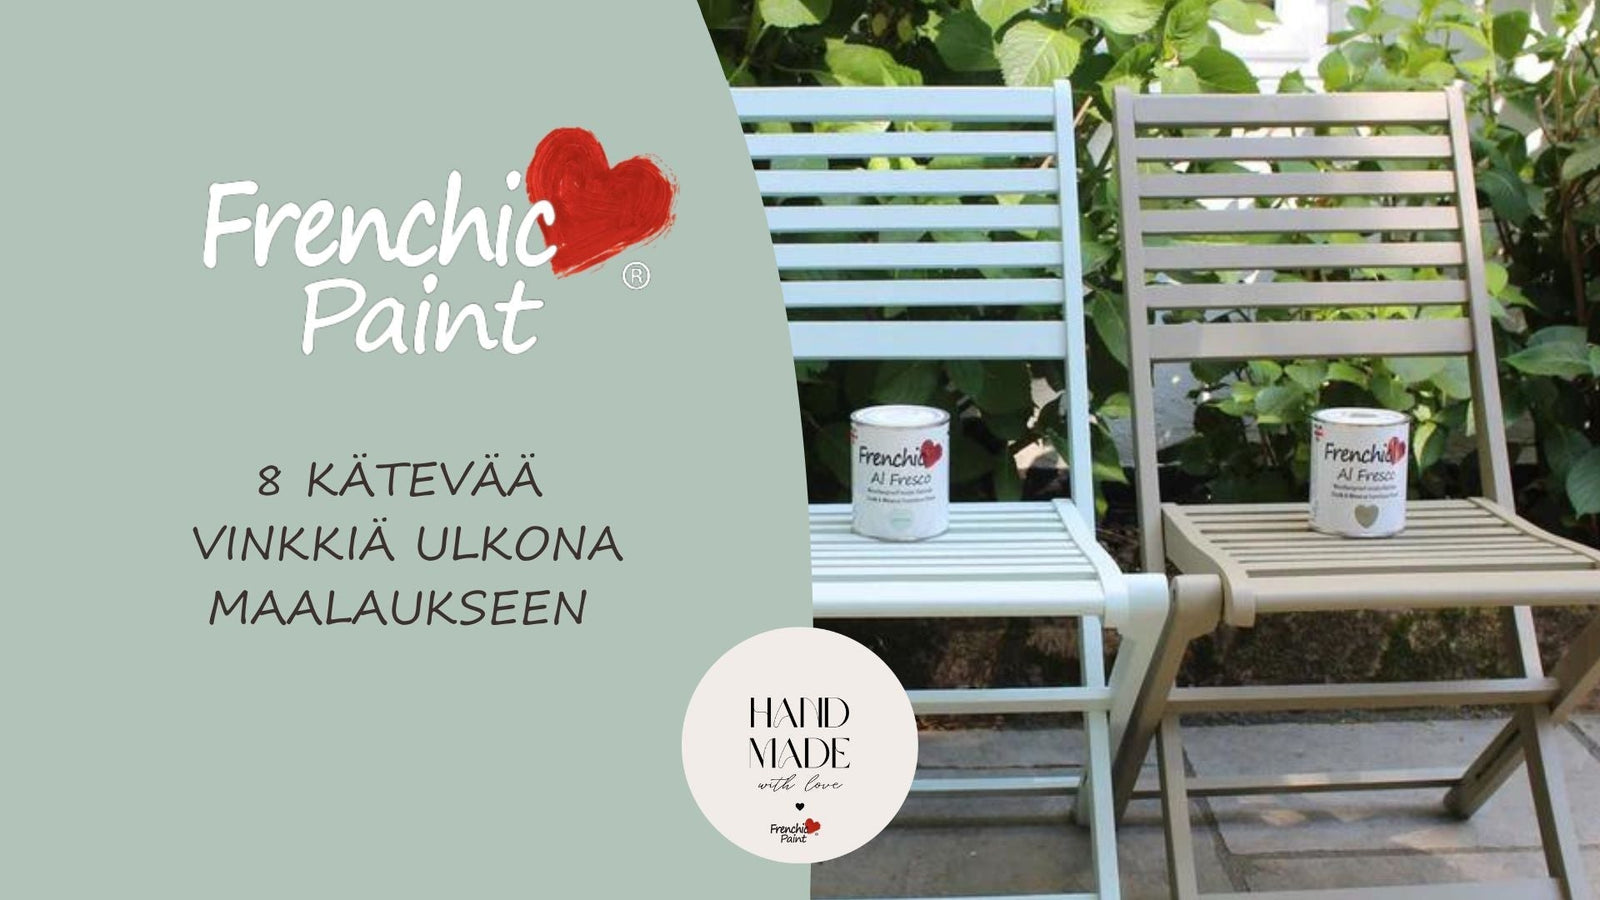


8 handy tips for painting outdoors
Whether it's decorating the garden or repainting doors and windows, outdoor projects are the most rewarding to carry out.
Nevertheless, a few extra things must be taken into account:
Next, we go through eight handy tips that are good to keep in mind when painting outdoors and painting outdoor furniture, so that painting goes stress-free and the result is the best possible.
1. Check the weather forecast
What is the weather like today and tomorrow? This may seem obvious, but it is really important to look outside and check the weather forecast! You have probably heard this tip before, but we explain the technical part so it is crystal clear:
For the paint to work perfectly, drying and curing must occur at the right temperature so that the hardening of the paint film is not disturbed. Water evaporates from water-based paint within three weeks, so overall the curing process usually takes up to 3 weeks.
The first 48 hours are the most important. During this time, weather conditions can strongly affect the curing process, and moisture and temperature are the biggest factors. The paint film does not dry properly if it is too cold or too hot.
Rain and cold weather
So check that no rain is forecast and that the temperature does not drop below 10 °C during painting and for 48 hours afterward. Don't forget that this also applies to night temperatures.
In practice, this means that exterior painting should be done during the summer months in Finland, and you should be careful with the night dew in late summer and early autumn.
Heat and humidity, rain, night dew, and cold are not the only things to watch.
Very high temperatures can cause the top layer of paint to harden too quickly, preventing the paint underneath from drying properly. On the other hand, very humid conditions slow drying down too much, like night dew, which still collects moisture on surfaces during the night hours.
Ideally, aim for temperatures below +32 °C and humidity below 80 percent.
2. And let the paint surface dry calmly
A nice sunny spell - hooray? You have checked the weather for the coming days and are ready to rush outside with your brush on the first dry and sunny day in ages... Patience, Picasso!
Unfortunately, the previous rainy period meant that all porous outdoor materials have absorbed moisture. This includes, for example, wood, stone, and terracotta. You need to give them time to dry before even considering painting.
And don't forget that some of the preparations involve cleaning, so that also adds moisture!
Remember to allow plenty of time for the surface to dry - this can take 24 hours or even longer in cooler or cloudy weather. A good rule of thumb could be: washing and painting on different days.
3. Avoid direct sunlight
Another thing to keep in mind: when it's a beautiful sunny day, painting in direct sunlight can make things difficult. If the surface has warmed up, it usually causes the paint to start drying as you brush it. This makes it harder to apply the paint evenly.
Painting in too hot and direct sunlight doesn't really work, as the paint dries almost immediately on the brush, preventing it from leveling nicely on the surface.
It's also worth keeping the paint can in the shade. See more information about paint storage in the frequently asked questions.
4. Assess the condition of the surface to be painted
It's the weather. The next most important factor in outdoor projects is the condition of the surface. Ok - it is somewhat related to the weather, as a poor condition, grooved, and decayed surface absorbs moisture in the rain. Quick painting won't fix that!
If moisture penetrates under the painted surface and is absorbed, it leads to paint detachment and flaking over time. Sometimes you just have to accept that something is too damaged and no longer suitable for painting.
Assess the surface to be painted:
- Check that there is no rust, mold, algae, or moss on the surface.
- Remove and perform necessary repair treatments.
- Check for cracks or other damage on the surface that would allow moisture to penetrate into the wood or concrete.
- Fix loose joints and replace broken parts with functional ones.
- Remove any loose or flaking paints and varnishes.
Fill areas with a suitable exterior filler and sand the filled spots back to a smooth surface. - Make sure the surface is clean. So only paint clean and dry surfaces. We don't want anything extra or loose between the painted surface and the paint. (we recommend washing with effective Sugar Soap).
- Lightly sand the surface to achieve the best possible adhesion and maximize paint bonding.
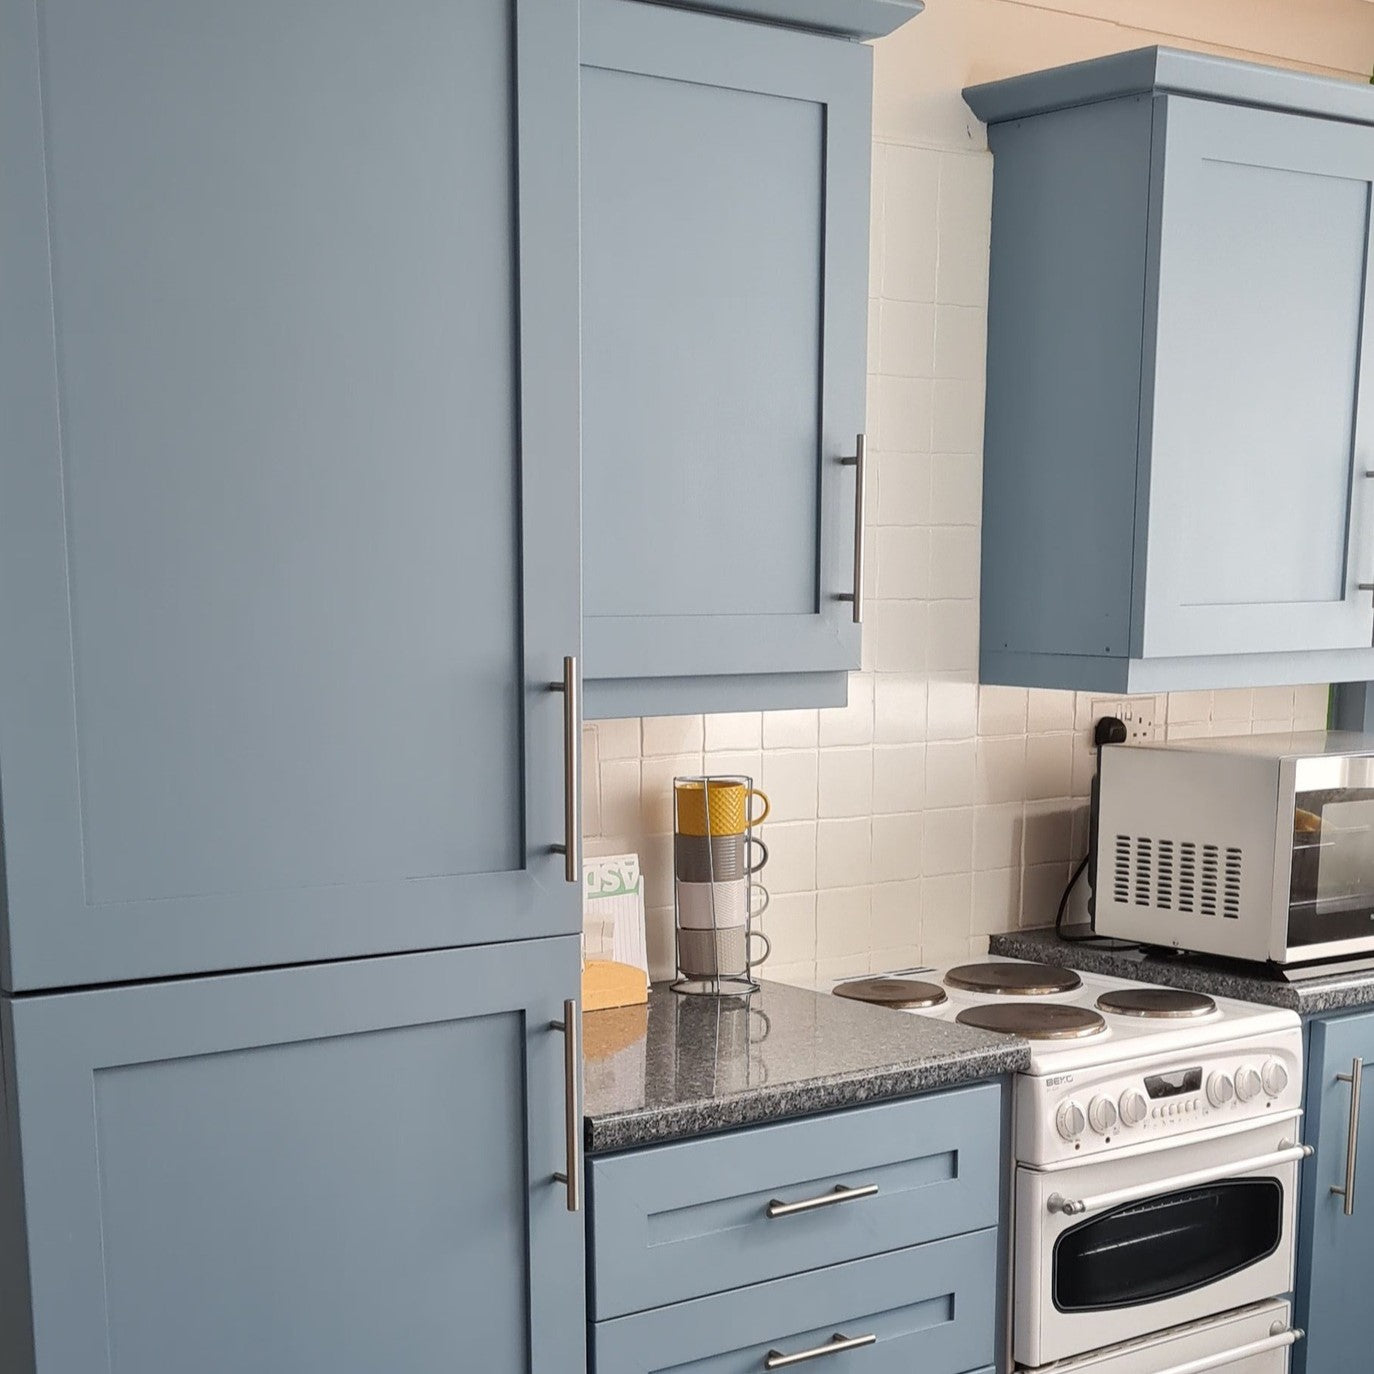
5. Never paint door and window seals or silicone joints
Most door and window types are suitable for painting as long as they are in good condition. Our best tip is to make sure you don't paint silicone or rubber seals.
Applying paint to seals may look good at first, but over time their flexible nature causes cracking and flaking. This ruins the appearance of windows or doors - and may also affect the function of the seals.
6. Choose the right paint
When painting exterior surfaces, don't settle for using ordinary interior paint. Rain and UV exposure will ruin it over time, causing it to fade, peel, crack, and bubble.
To ensure durability, choose weather-resistant, UV-resistant paint, such as the Frenchic Al Fresco series.

7. Make sure you buy enough paint
As mentioned earlier, many exterior surfaces are porous and grooved. In addition to absorbing moisture from the weather, they can absorb a lot of paint when painting, such as new wooden surfaces and raw boards.
In short, you may need more paint than you think - although this usually does not apply to previously painted surfaces.
Always check the paint can instructions for how much paint to use.
If the can says two coats, apply two coats!
If the coverage instructions say that the can contains paint for six square meters, and after painting an area of this size there is still a lot of paint left, the paint layers are too thin.
To achieve a durable finish, you need to apply more paint.
Frenchic paints do not need thinning, and the self-leveling feature of the paint benefits from a generous painting hand.
8. Looking for inspiration for outdoor painting?
If you are ready to start exterior painting, Frenchic is with you all the way.
In addition to our Al Fresco collection of outdoor-friendly paints, we have compiled guides for many popular outdoor painting projects and answers to frequently asked questions:
Painting outdoors - tips and tricks
Painting the gazebo and waxing the log beams
Front door painting instructions
Kirsi's project: Front door and garden tiles
Choose the right paint for the right surface