IOD Paint Inlays sheets are handmade from real paint.
They are not stickers, not synthetic film, and not decoupage.
This technique gives you anything but smooth and even, perfect repetition – and that’s the secret to the popularity of Paint Inlay sheets!
The pattern transfers from the Paint Inlay sheet onto wet paint, and each transfer is always unique.
You can use one sheet 2-4 times; each time the pattern repeats with more wear, resulting in stunning, textured designs.
You can also use other paints, but working times may vary. If you choose a paint from another brand or line, test how the pattern transfers before starting a larger project.
When you use IOD Paint Inlay, the pattern’s paint is physically embedded into the project’s surface.
After drying, the paper is removed, leaving a genuine painted pattern and a textured surface that almost feels like leather.
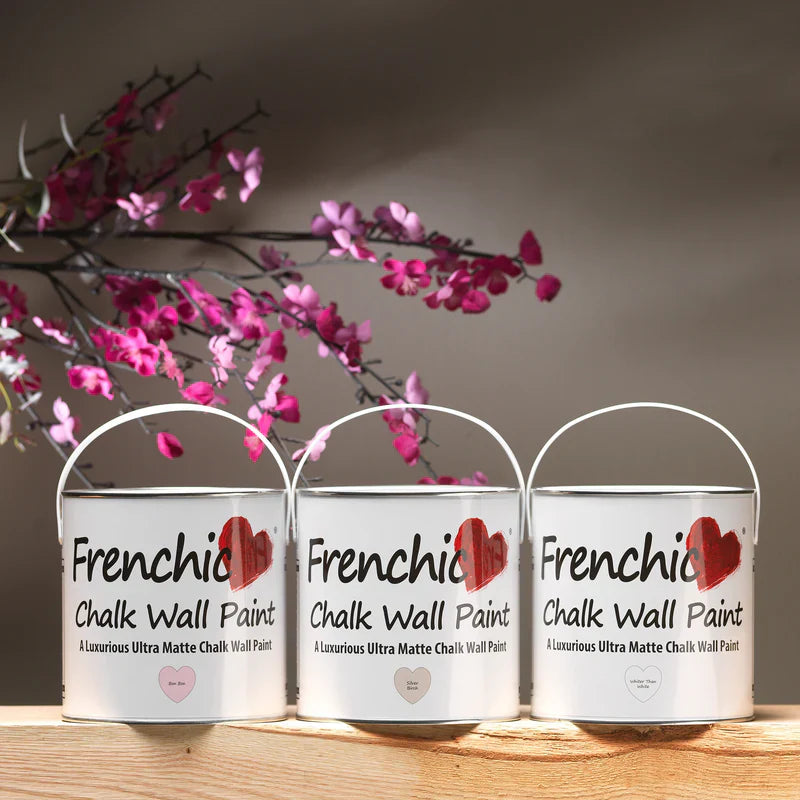
IOD Paint Inlays paints are made from artist-quality paints specially developed for decorative use.
Naturally organic, Paint Inlays paints transfer the painted pattern, giving a slightly varied and uniquely beautiful aesthetic effect every time they are used.
The results are visually interesting and structurally complex.
The paint remains "active" until sealed with a topcoat.
This means you can work with it and apply special techniques or custom touches before sealing your piece – you can even paint additional patterns with a brush!
The pattern’s paint remains water-active until sealed.
Also read the Work Instructions and Pattern Protection tabs below.
The package includes instructions in English.
Work Instructions for Paint Inlay
How do I use IOD Paint Inlays sheets?
Step 1: Plan the layout of your patterns for the surface.
Step 2: Use the grids printed on the back of the inlay sheet, cut as needed, and set aside. If using a repeating pattern and lining up the design continuously, trim the extra margin from each sheet.
Step 3: Apply a generous and even layer of mineral-based chalk paint to a properly prepared surface. Work in small sections, usually no larger than 30x30cm or the size of the sheet, to manage the paint’s drying window during application.
Step 4: While the paint is still wet, place the sheet pattern-side down (the back has grids to easily distinguish front and back) onto the wet paint and smooth it out, but avoid moving the sheet in the wet paint.
Step 5: Lightly mist the sheet with a fine water spray to keep it wet. Use a smooth damp sponge, soft folded cloth, or a small IOD Silicone Paint Blade to gently tap and press evenly, ensuring good contact between the pattern and the painted surface. Avoid excessive movement or dragging of the Paint Inlay sheet after placement, as this can cause blurring or smudging.
Step 6: Repeat steps 3-5 to complete the pattern and line up sections as needed. The grid lines help align pattern edges if necessary.
Step 7: Allow the Inlay pattern to dry. Drying time can vary from 10 minutes to an hour depending on conditions. The paper lightens as it dries.
Step 8: When ready to remove the Paint Inlay sheets from the surface, spray water evenly again and let it soak for 30 seconds; this helps release the pattern. Gently peel the paper upward starting from one corner at a low angle. It should come off easily without tearing. If not, spray again, wait a moment, and try again.
Step 9: You can optionally soften or blur the pattern with water, as the pigment is still movable and active. You can even add extra colors.
Step 10: When satisfied with the Paint Inlay design, allow the project to dry completely. Drying time varies depending on paint layer thickness, amount of water used in the process, room temperature, and weather conditions. If the surface feels cold, it is not fully dry. To be sure, wait 24 hours.
Step 11: Now it’s time to finish the surface with a topcoat.
Protecting the Paint Inlay pattern
There are several finishing options:
Spray your preferred water-based sealer designed for paints and surface treatments using a spray gun, or add finishing coat from a spray bottle, e.g., Finishing Coat topcoat.
Apply a water-based polyurethane-type sealer, varnish, or epoxy lightly with a brush directly over the work. This method may cause some pigment transfer; minimize this by avoiding overworking.
Create a "sprayable" fixative by mixing 50/50 water and your favorite water-based sealer. Apply with a fine mist sprayer. Let it dry completely, then apply a brush-on sealer.
Initially fix your work with a commercially available spray sealer or artist’s fixative. Let it dry completely, then apply your desired finish.
You can also use wax to seal your piece. Apply according to the manufacturer’s instructions and buff to a shine as usual.
Some oil-based finishes can be applied directly with a brush without reactivation. Test on a small area before applying. Note that most oil-based finishes tend to yellow over time, especially noticeable on light colors.
IMPORTANT NOTE: Always check compatibility of sealers/finishing products when using more than one product.

Tässä tuhdissa oppaassa esittelemme sinulle yleisimpiä vaihtoehtoja, jotta maalisarjan valintasi olisi helpompaa. Koska maalisarjoja on meilläkin useita, haluamme auttaa sinua löytämään oikean sarjan projektiisi.
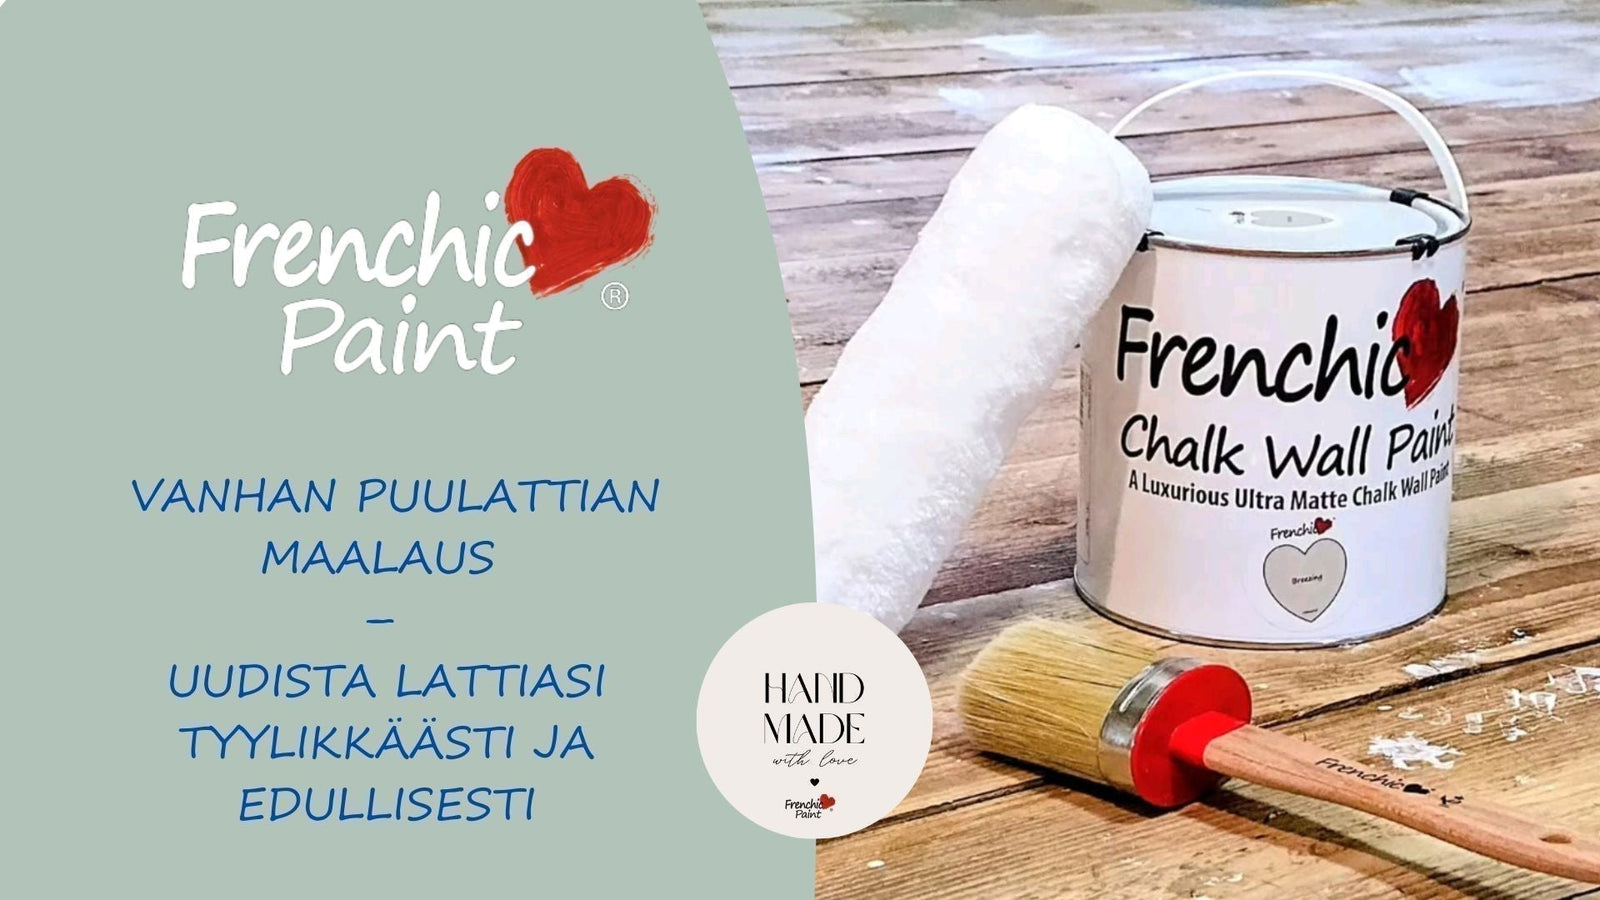

Vihdoinkin sinulla on käytössäsi lattian maalaukseen kymmeniä kauniita valmiita sävyjä, jotka ammattilaiset ovat jo valmiiksi suunnitelleet sopimaan kauniisti monenlaisiin sisustuksiin!

Olemme koonneet tähän yleisimpiä usein kysyttyjä kysymyksiä (UKK) ja vastauksia Frenchic maaleista. Päivitämme sivua säännöllisesti, joten tätä sivua kannattaa seurata.
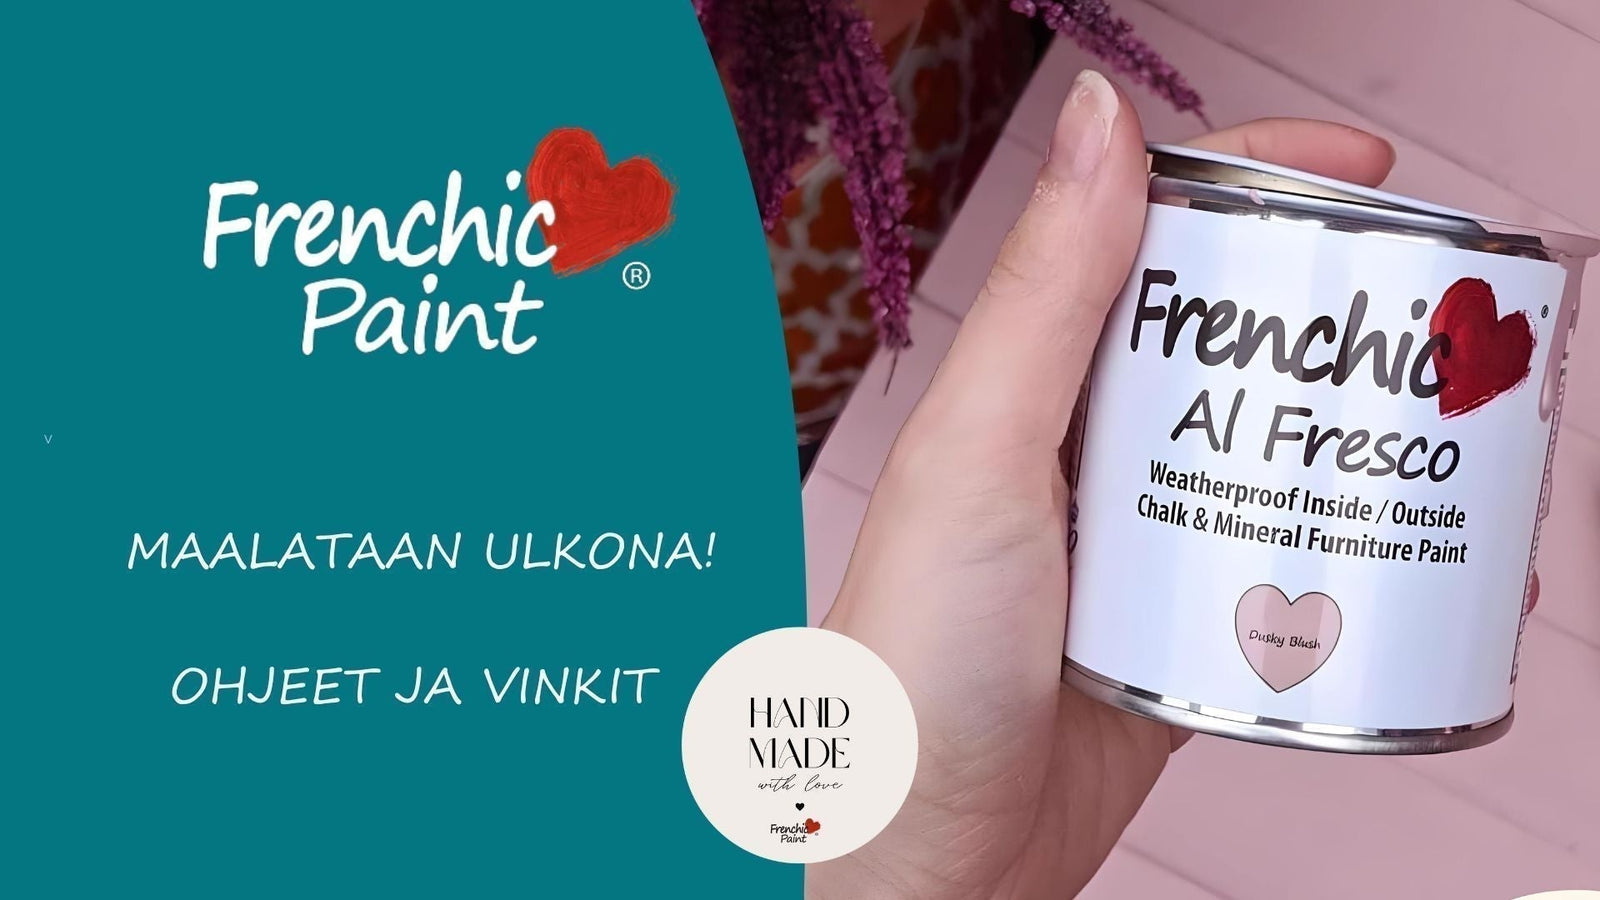

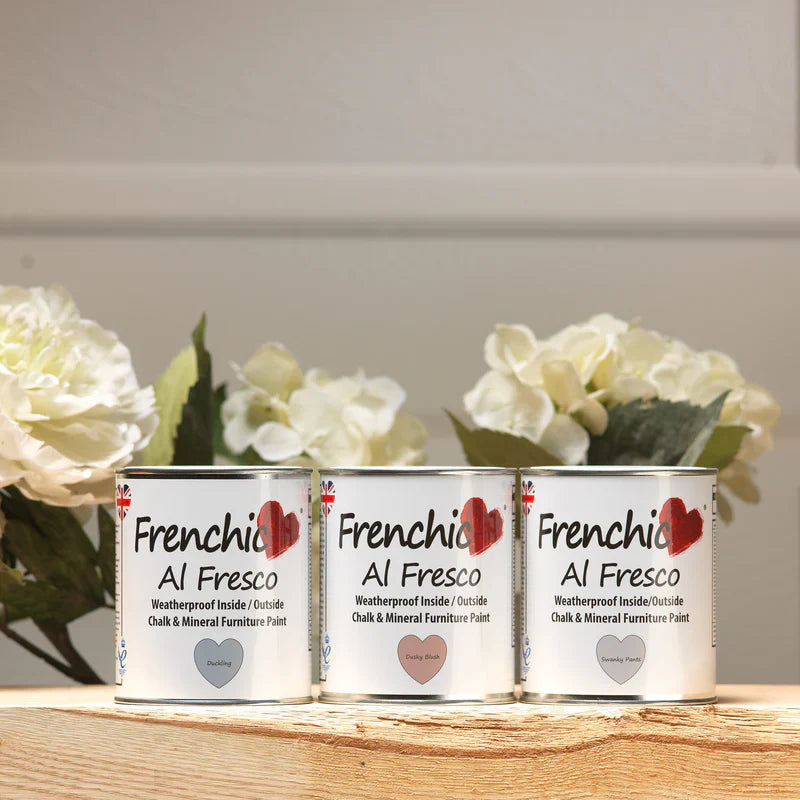
Puisille ja metallisille puutarhakalusteille soveltuu pakittu testivoitttaja Al Fresco maalisarja upeissa sävyissä! Maalaa vanhat kalusteesi uudelleen kauniiksi.