Pyrimme kaikin tavoin varmistamaan, että verkkokaupan sävyt vastaavat mahdollisimman lähelle oikeita sävyjä, mutta sävyt voivat vaihdella eri laitteissa - riippuen useista tekijöistä, kuten puhelimesi, tabletin tai tietokoneesi näytön asetuksista.
Tämä tarkoittaa, että emme voi taata, että maalisävy vastaa täsmälleen sitä, mitä näet omalla näytölläsi.
Suosittelemme aina kokeilemaan sävyä siinä tilassa ja pinnassa mihin sitä on ajateltu ennen suurempaa projektia. Tilaa yksittäisiä sävyarkkeja, Värikartta tai Väriopas-lehti värisuunnitteluun.
Huomioi myös, että 250ml ja 750ml purkit ovat aina eri valmistuserää. Vältä sävyerot valmistuserien välillä sekoittamalla eri erää olevat maalit yhteen: näin varmistut että sävy on varmasti sama koko projektissasi.
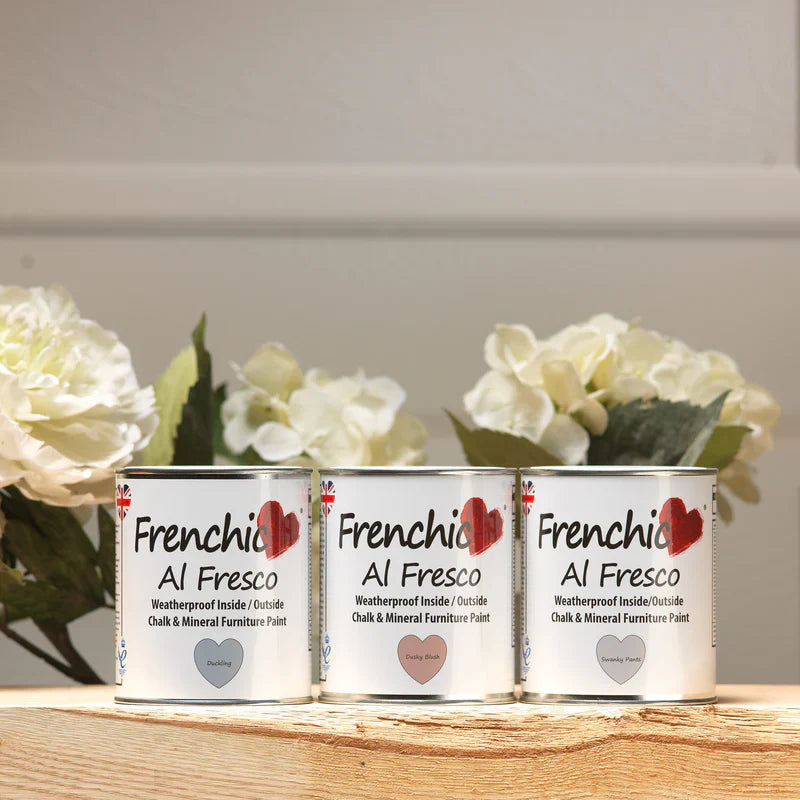
Tarkastele ja arvioi sävyä vasta kuivana ohjeen mukaisesti vähintään kahteen kertaan maalattuna. Tilaa pieni purkki testailuun tai käy lähimmässä jälleenmyyjäliikkeessäsi katsomassa värejä itse. Värikartassa on kahden sarjan sävyt: Al Fresco ja Lazy Range.
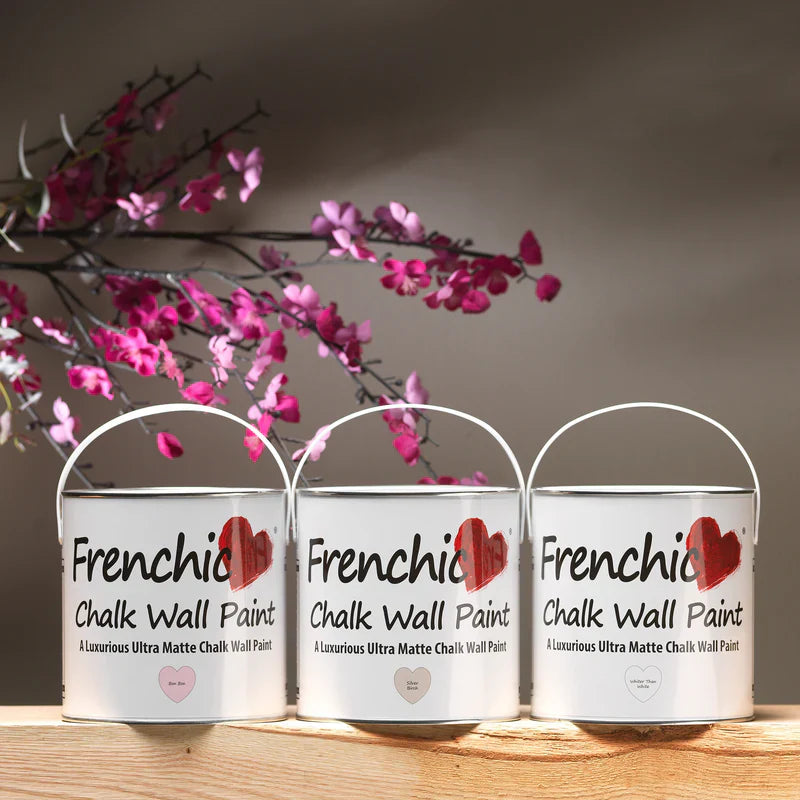
HUOM! Peel & Stick-näytemallissa on painatus: Chalk Wall Paint, koska sävymallit ovat valmistettu alunperin seinämaalisävyjen valitsemiseen. Huomaa, että Suomen sävyvalikoima on erilainen kuin Englannissa.
Voit kuitenkin käyttää Peel & Stick sävymallia myös muiden sarjojen sävyjen valitsemiseen!
Voit lukea lisää sävyistä tästä.
Huomioi myös, että varaat tarpeeksi maalia projektiisi:
Pidä huoli, että varaat maalia tarpeeksi projektin loppuun viemiseksi. Suuren kysynnän vuoksi sävyissä on myös loppuunmyytyjä sävyjä. Alan normaali standardineuvo on, että jos tarvitset enemmän kuin yhden maalipurkin, varmista, että ne ovat samaa valmistuserää (batch numero) tai jos se ei ole mahdollista, sekoita maalierät ennen maalaamista yhtenäisen lopputuloksen varmistamiseksi. Maalin huolellinen sekoittaminen (pitkään ja pohjia myöden) on tärkeää oikean sävyn lopputulokseksi. Jos tarvitaan huoltomaalausta, suosittelemme koko alan maalausta pienen paikkamaalauksen sijasta, jotta korjaustyö olisi mahdollisimman huomaamaton.

